Playing with GeoStories
A GeoStory is a special type of content in GeoNode allowing you to create a storytelling-type frame composed using a mix of geospatial data and static media-type contents.
You will be able to compose the frames by placing text, images, video, audio, maps, and other static contents into a dynamic page resulting in a narrative story. An alternative method to a simple plain map for presenting contents and linking them to events and places in the world.
Create a GeoStory
From the
Add Resourcedropdown menu, selectCreate geostory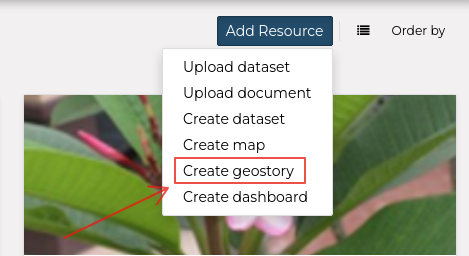
You will be redirected to an empty GeoStory with a sample title
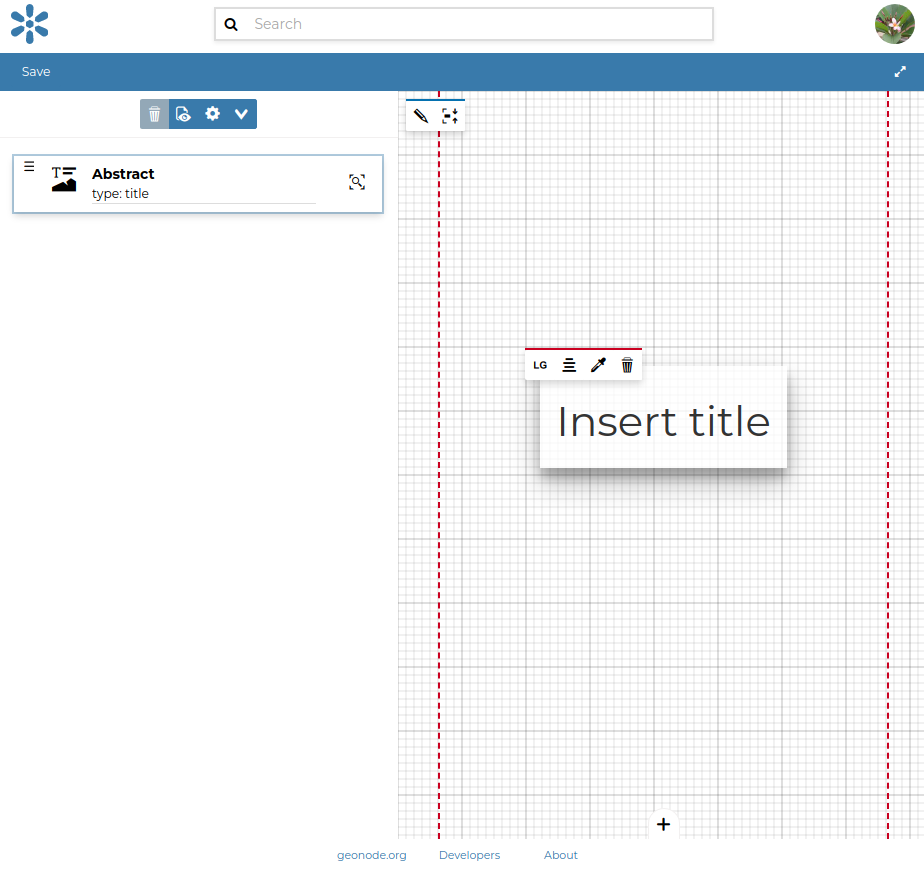
Let’s start by adding a title; write
Boulder Coloradointo the title frame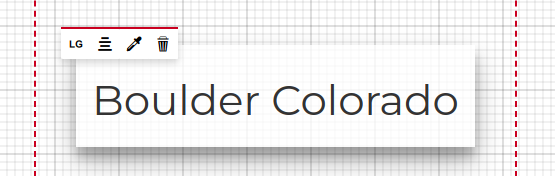
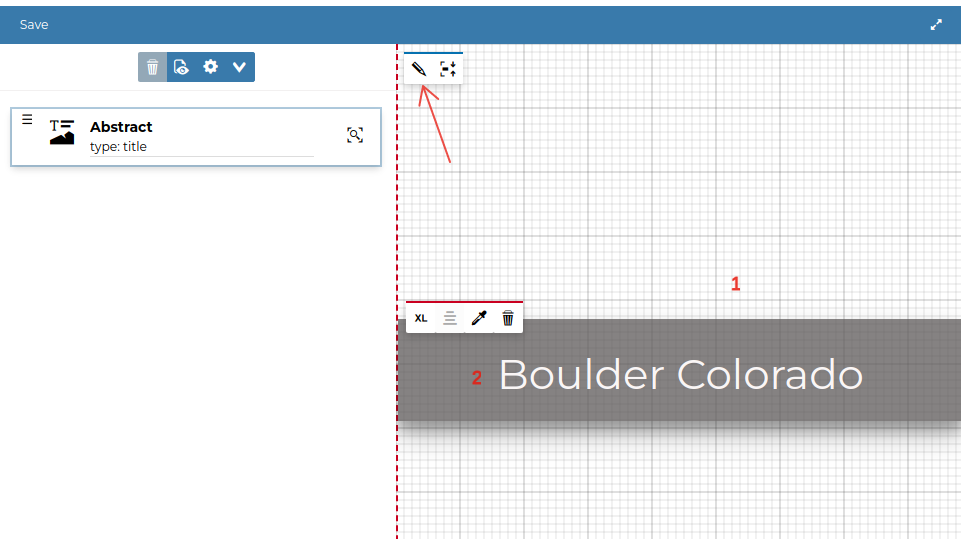
Change the size of the title frame to
XL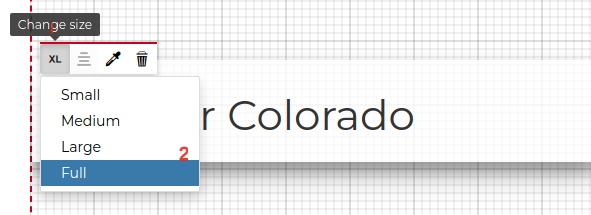
Adjust the color of the tile frame to a transparent gray, the text to white, and add a shadow
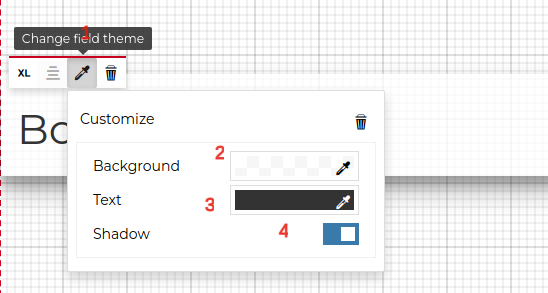
Change the text to
BoldandCenteredby clicking on the text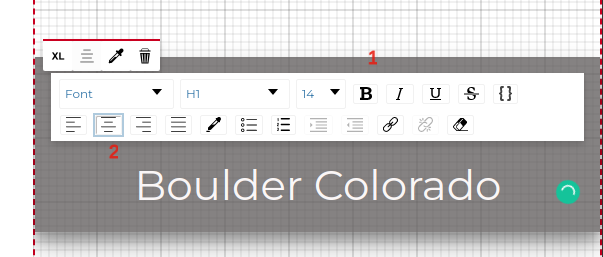
Click on the Pencil to edit the media contents of this frame
Let’s search for an image of Boulder in Colorado on Google and let’s copy the
image URL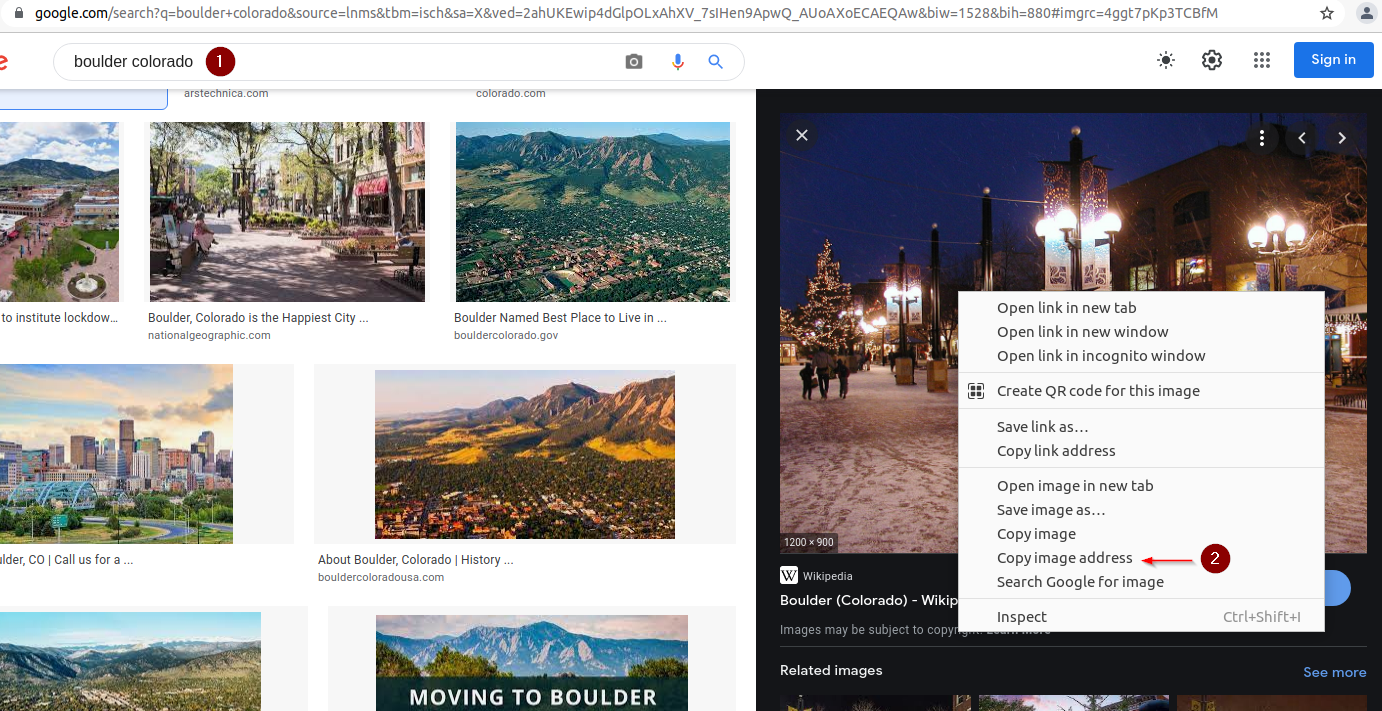
Ensure that in the Services drop-down in the top right
Story Resourcesis collectedClick on
Imagesand then add (+)
Fill the image form with the
URLand other info, and thenSave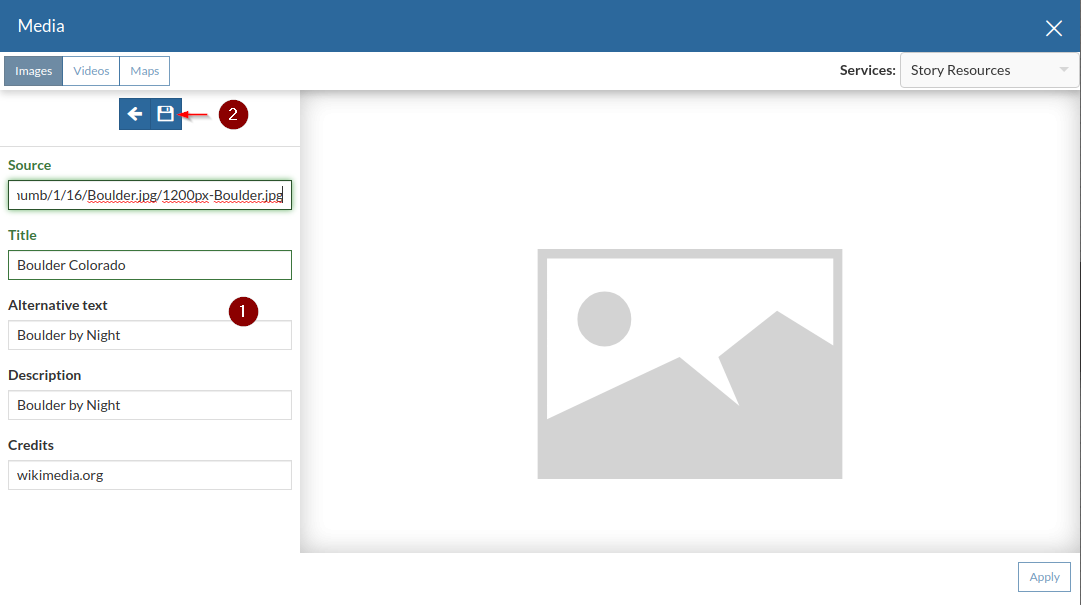
Select the newly created image content and
Apply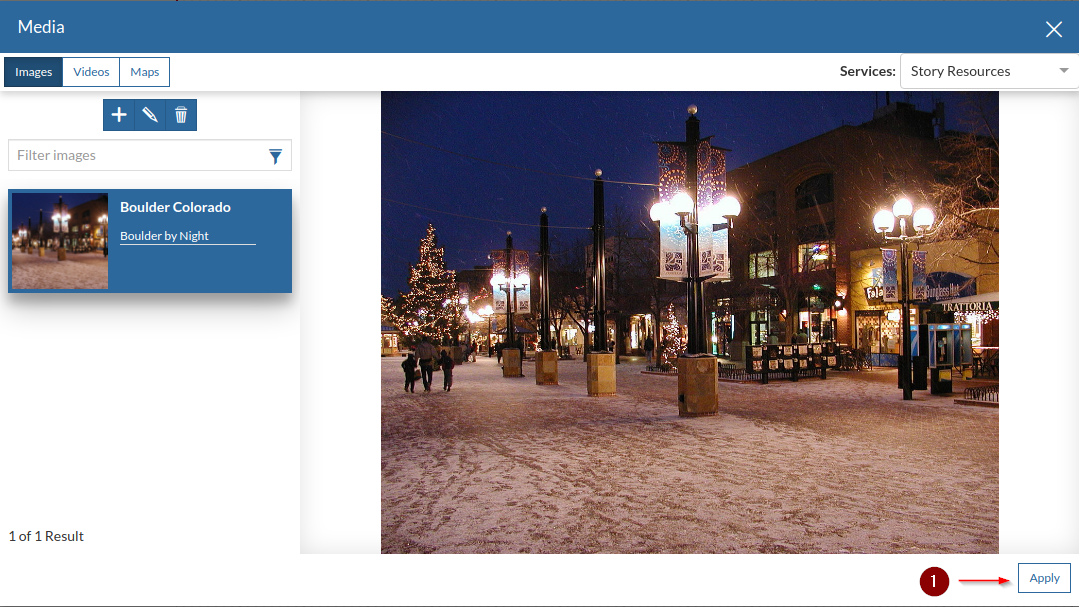
The image suddenly appears as the frame background

Time to save our new GeoStory before adding more content. Click on
Savein the top-left corner of the menu and clickSave As. Enter a title and description and clickSave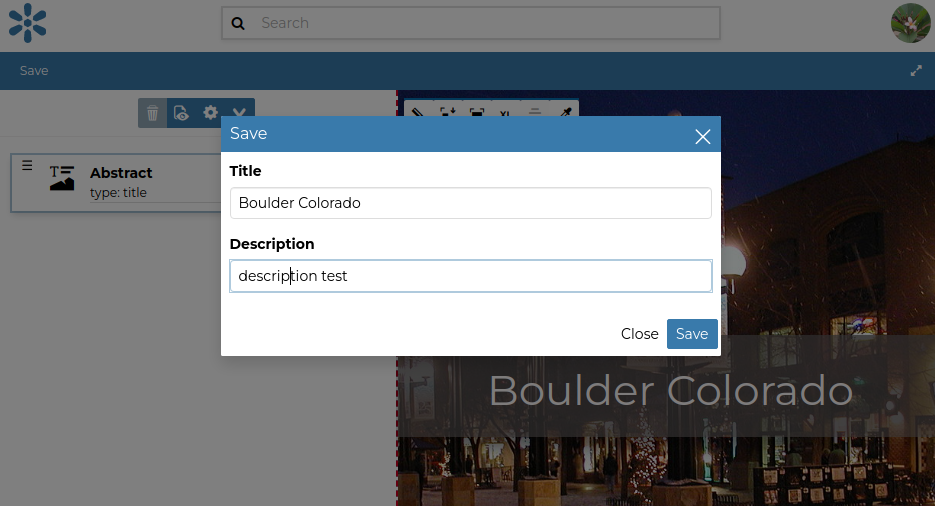
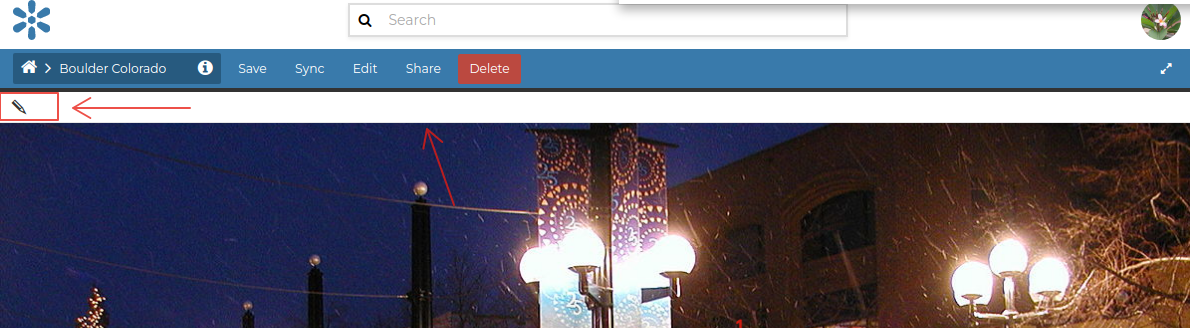
Edit a GeoStory
From the GeoStories list, click on the Pencil icon in the top-left corner as shown below
Change the
fitof theAbstracttoVerticaland click on thePlusbutton at the bottom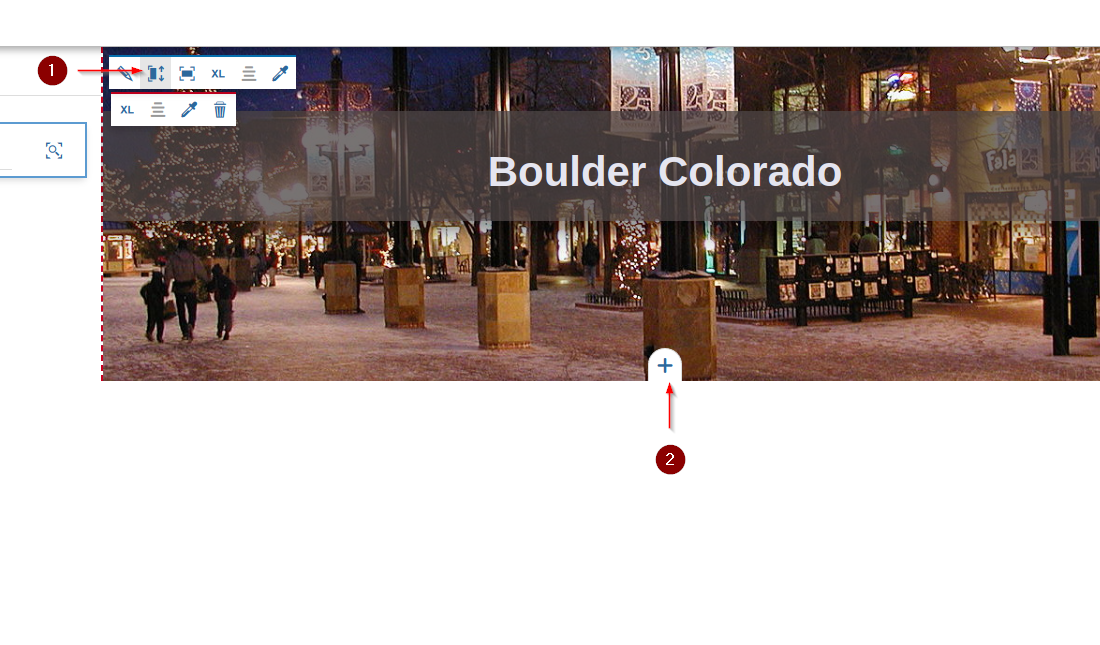
Add an
Immersive Section, click on the pencil and make sure the GeoNode service is selectedClick on the Maps button under Media
Select the
Boulder Mapcreated previously from the availableMapson GeoNode and apply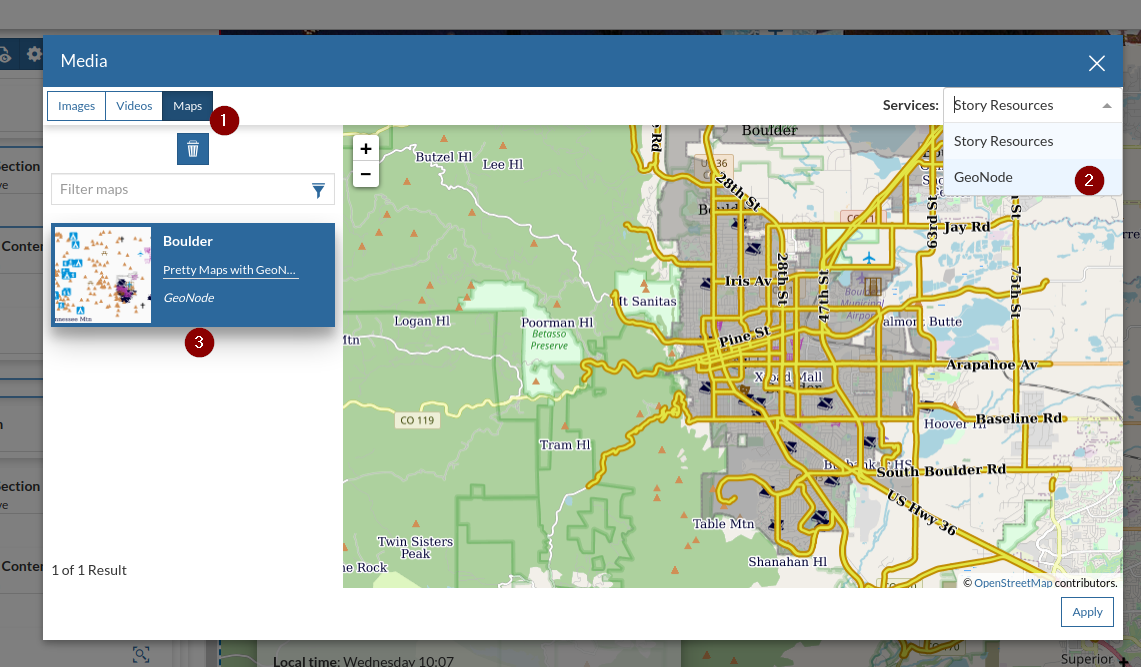
Add and fix some text (you can get it from Google) to the Text section

Click on the plus at the bottom of the map Immersive content section
Add a
Title Sectionand insert the titleBoulder Trailsinto the text box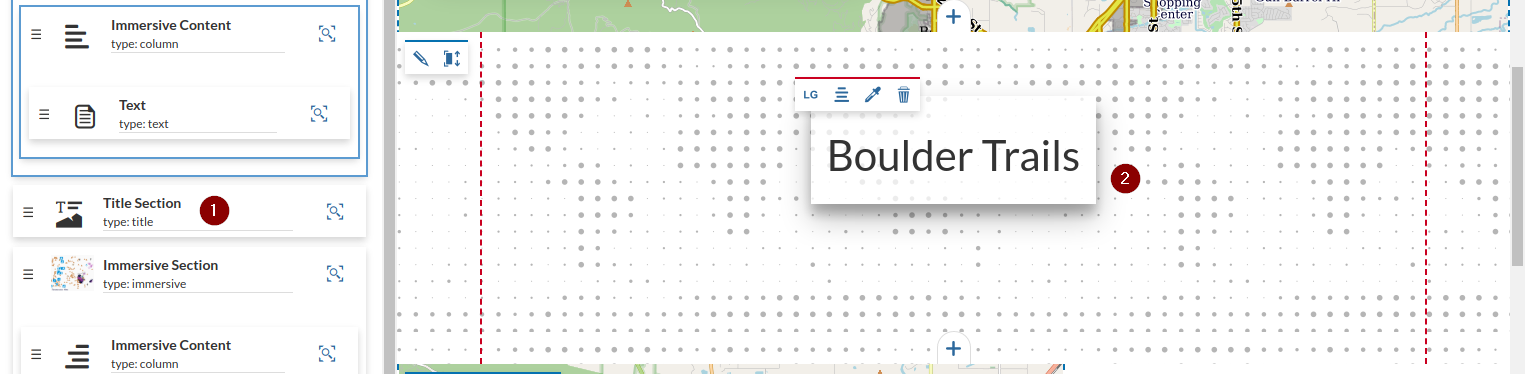
Add another
Immersive Section, add theBoulder Mapagain, and zoom to theMiddle Saint Vrain Trailhead location. Search for some text and images on google and add them to the text box. Also, change the size and positions of the media and text contents if needed by using theAlign contentbutton and selecting Right.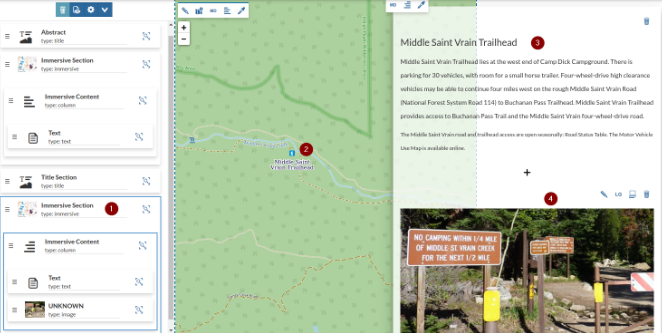
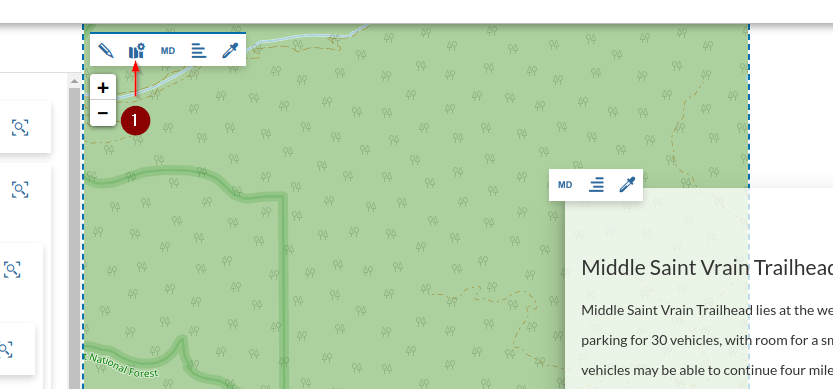
Click on the map settings as shown below
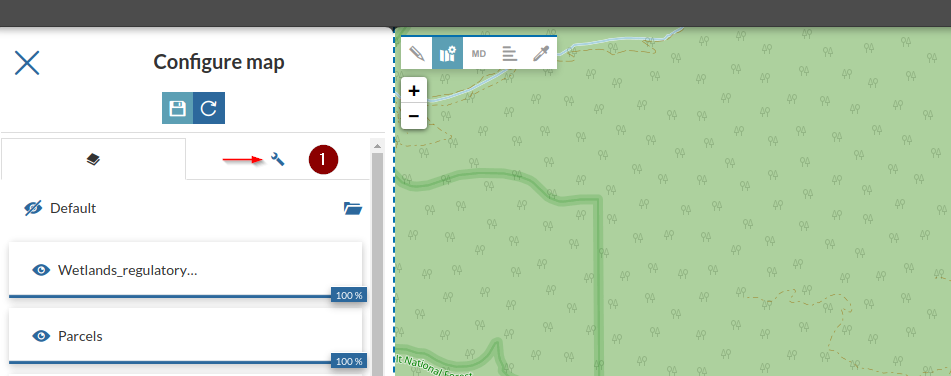
Click on the tool symbol to access the settings tab as shown below
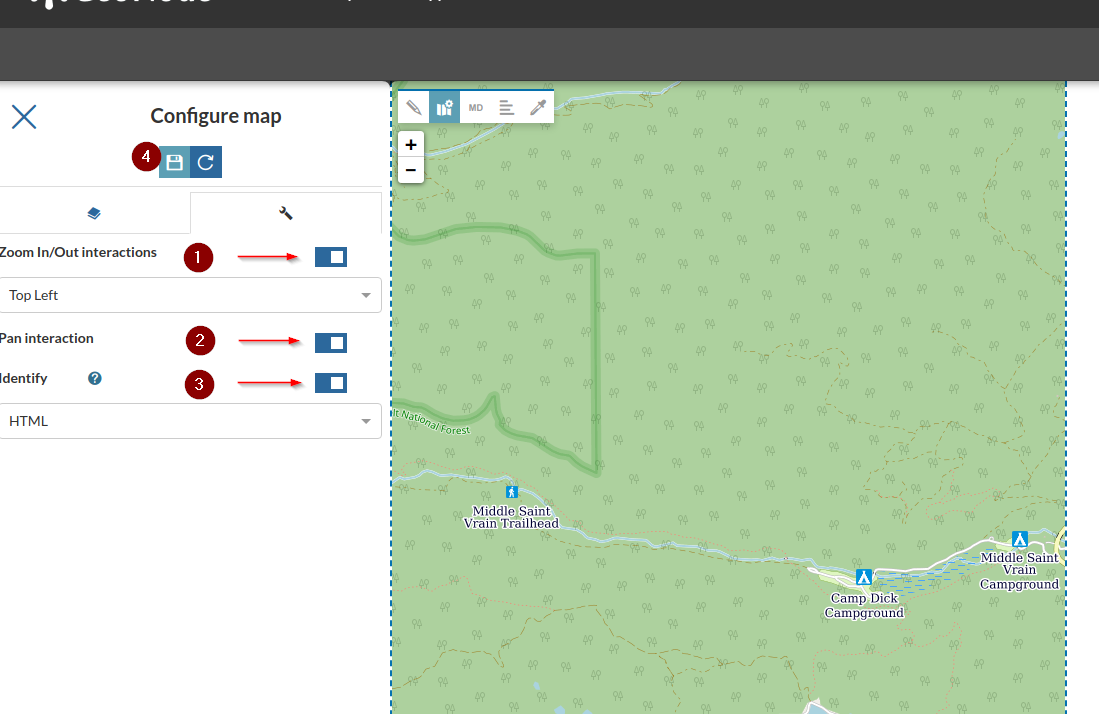
Enable the option as shown in the figure below, zoom to the area of interest, and click the save button
Click on the
Previewbutton in order to check the outcomes; if everything is fine,Savethe GeoStory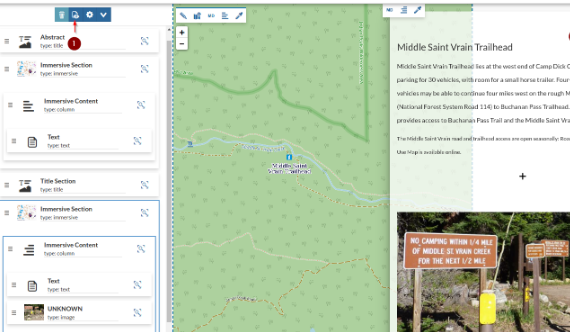
The new GeoStory is ready and can be viewed and accessed from the Apps list