Accounts and User Profiles
In GeoNode a lot of content is public so unregistered users have read-only access to public datasets.
To create and edit the content on GeoNode, you need to first sign up and then log in as a Registered Member.
GeoNode is primarily a social platform. Thus a primary component of any GeoNode instance is the user account.
This section will guide you through account registration, updating your account information and preferences, connections with social networks, and email addresses.
Register to the Platform as a new Member
To take full advantage of all the GeoNode features you need a user account.
Follow these steps to create a new one:
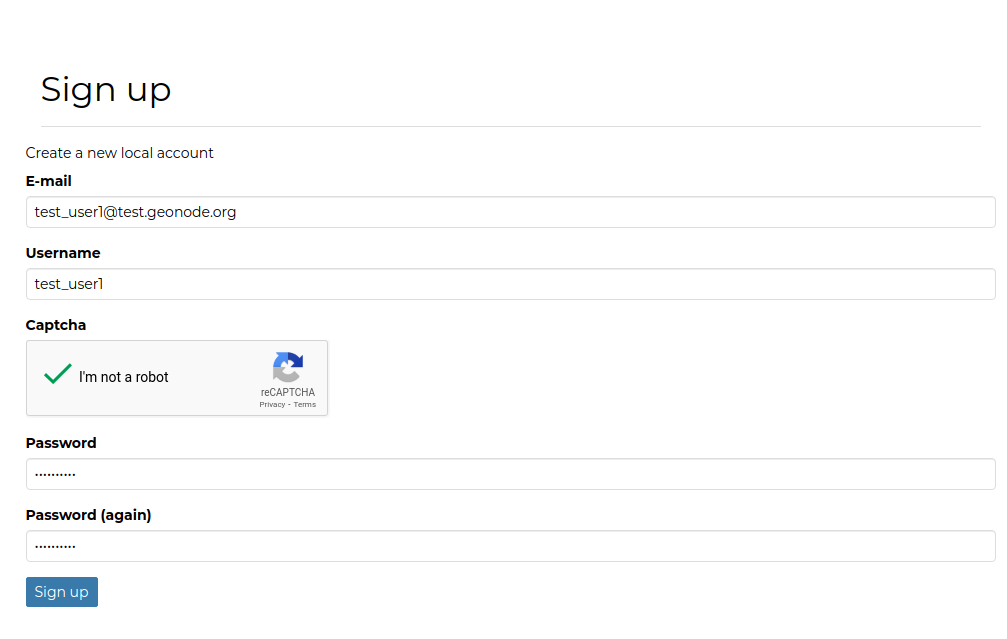
From any page in the web interface, you will see a
Registerlink. Click the Register link, and aSign Upform will appear.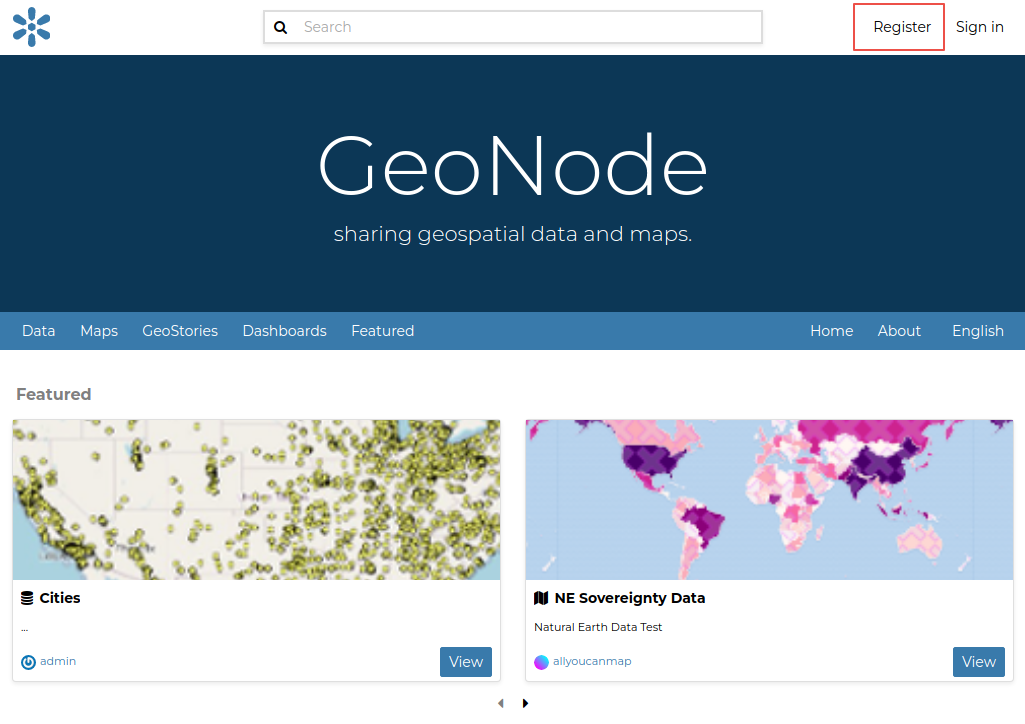
Fill in the
Sign Upform. Enter a user name and password in the corresponding fields. Also, enter your email address.E-mail:
test_user1@test.geonode.orgUsername:
test_user1Click Checkbox
I'm not a robotPassword:
test_user1Password (again):
test_user1
You will automatically be logged in and redirected to the GeoNode home page. On a production system, with a correctly configured
EMAIL SMTPservice, an email will be sent confirming that you have signed up. If no errors occur during the registration, you will see the default profile image/icon on the top-right side of the page: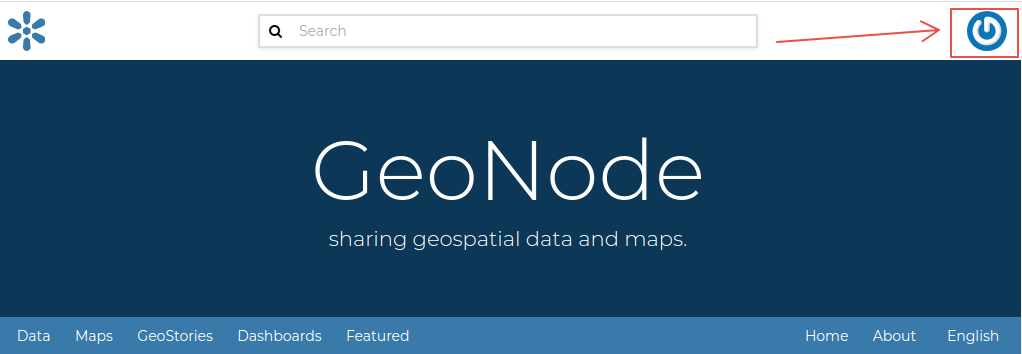
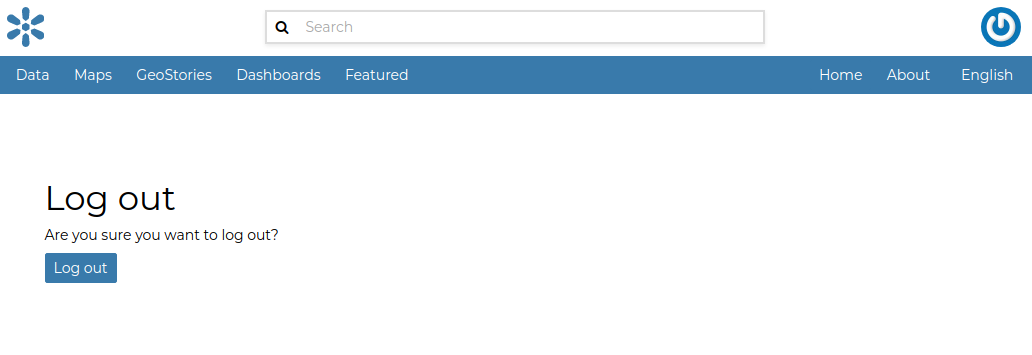
To log out click on the
Log outlink in the user menu which appears after clicking on the profile image.
You have to confirm this action as shown in the picture below.
Updating the Profile
A registered account on GeoNode allows you to create and publish your content, access private resources, and collaborate with other members by editing the data and metadata of the existing content.
Having good metadata associated with the datasets is critical. Once content has been created or uploaded onto GeoNode, the platform will show it through a Metadata Catalog and will allow external clients to search and explore it via different protocols.
GeoNode will use the information associated with your profile to enrich the content’s metadata, thus allowing the clients to perform accurate queries against the catalog interface.
This is why it is a good practice and strongly recommended, to carefully edit your profile information as a first action.
Editing the Profile information
Once logged in, click on the
usernameat the upper-right side of the navigation bar. A dropdown menu will list a set of helpful menu links. Click onProfile.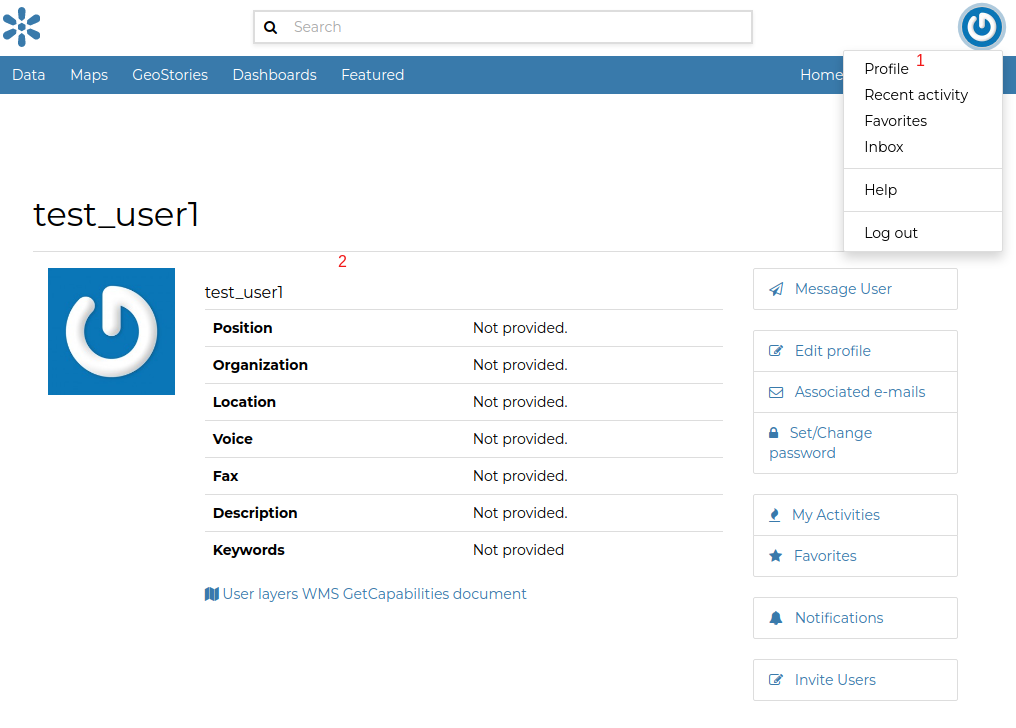
Click on the
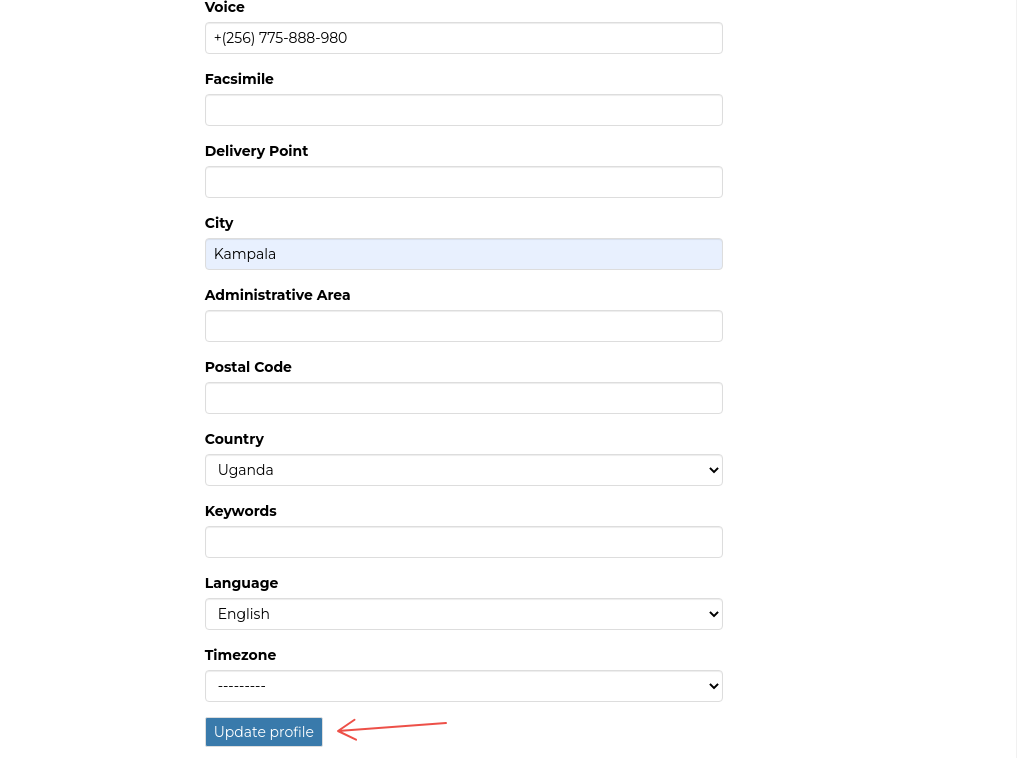
Edit Profilelink from the menu and enter the information as shown in the screenshot below.Once finished, click on
Update Profileto save the changes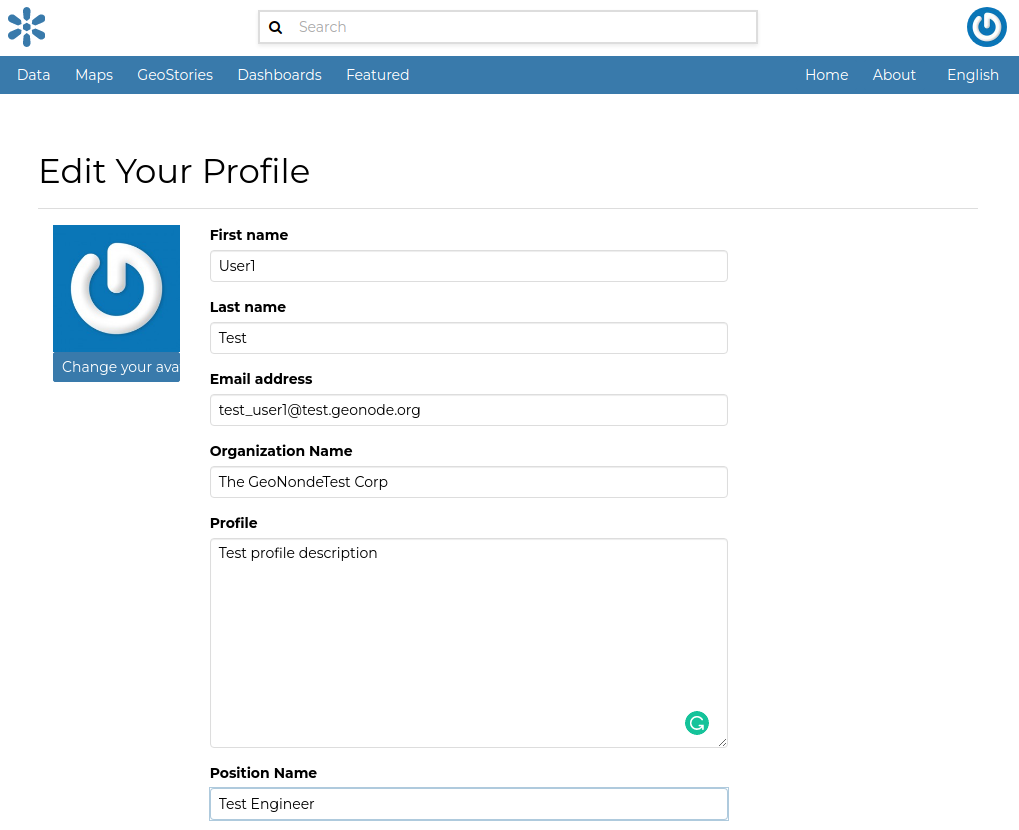
Your personal information will be updated accordingly and shown on the profile page.
It is possible to add a personalized
Avatarby clicking on theChange Your Avatarbutton from theEdit Profilepage.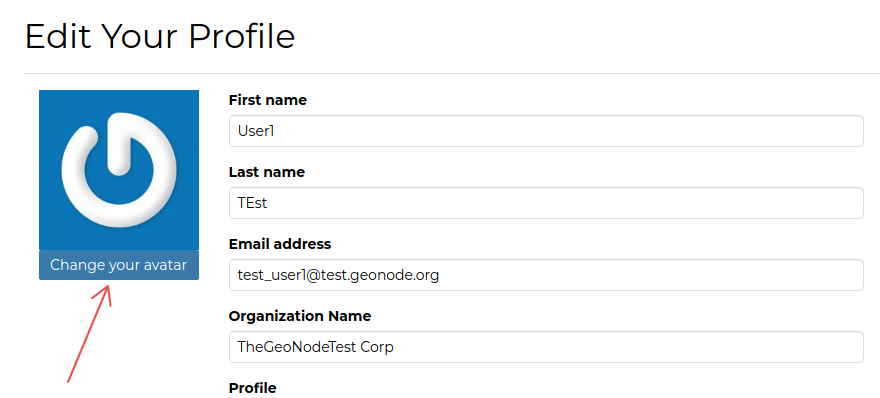
Click on the
Choose filebutton as shown below.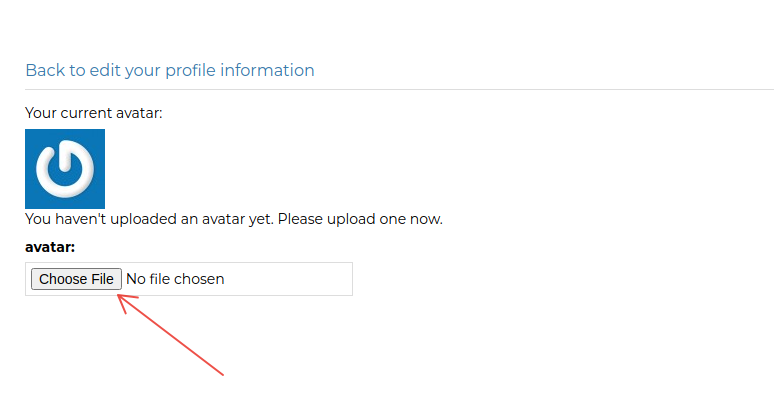
Click on the
Other Locationsbutton and thenComputer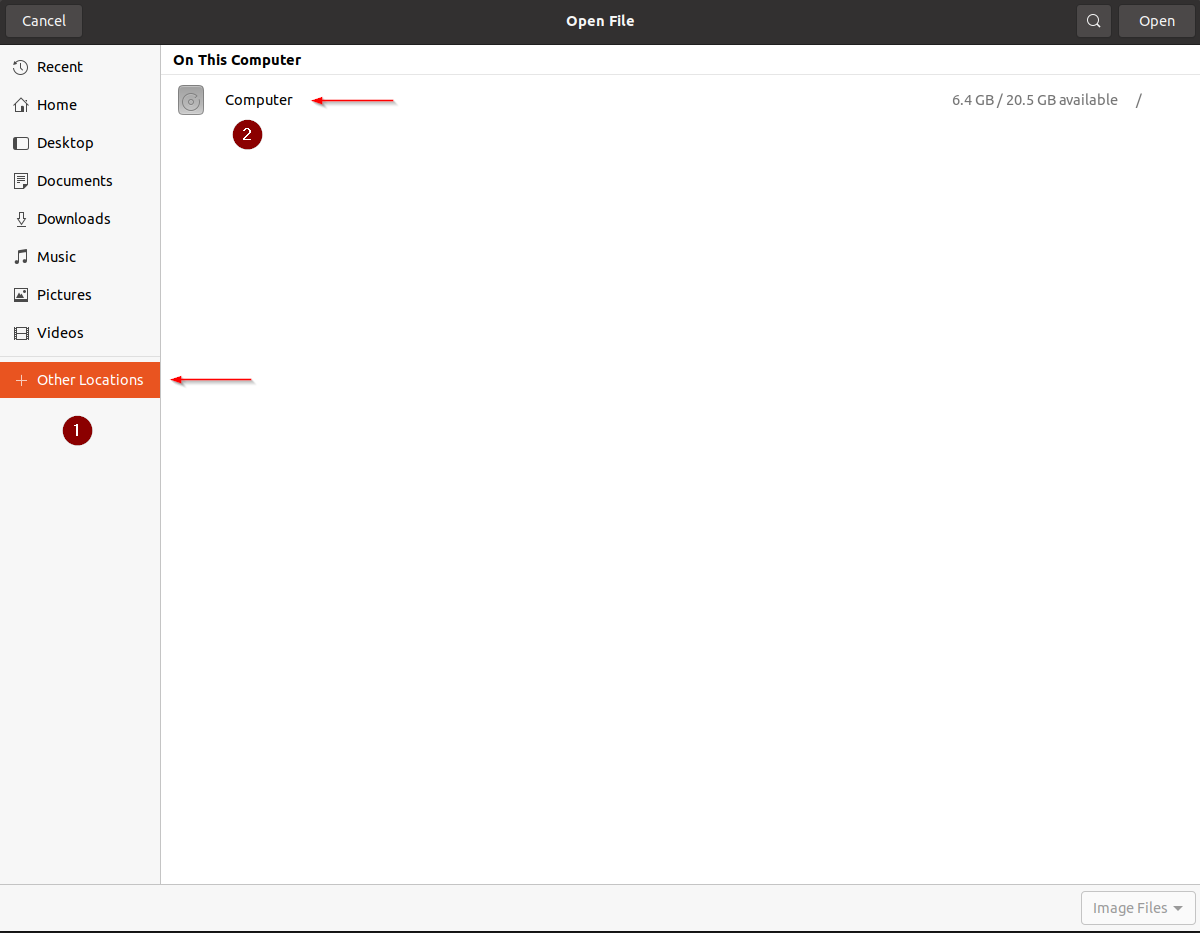
Search for the
optfolder in your file browser and double click on it
Navigate to
opt/data/sample_data/documents/imagesand search for the fileflowers.jpg, select the file, and click on theOpenbutton.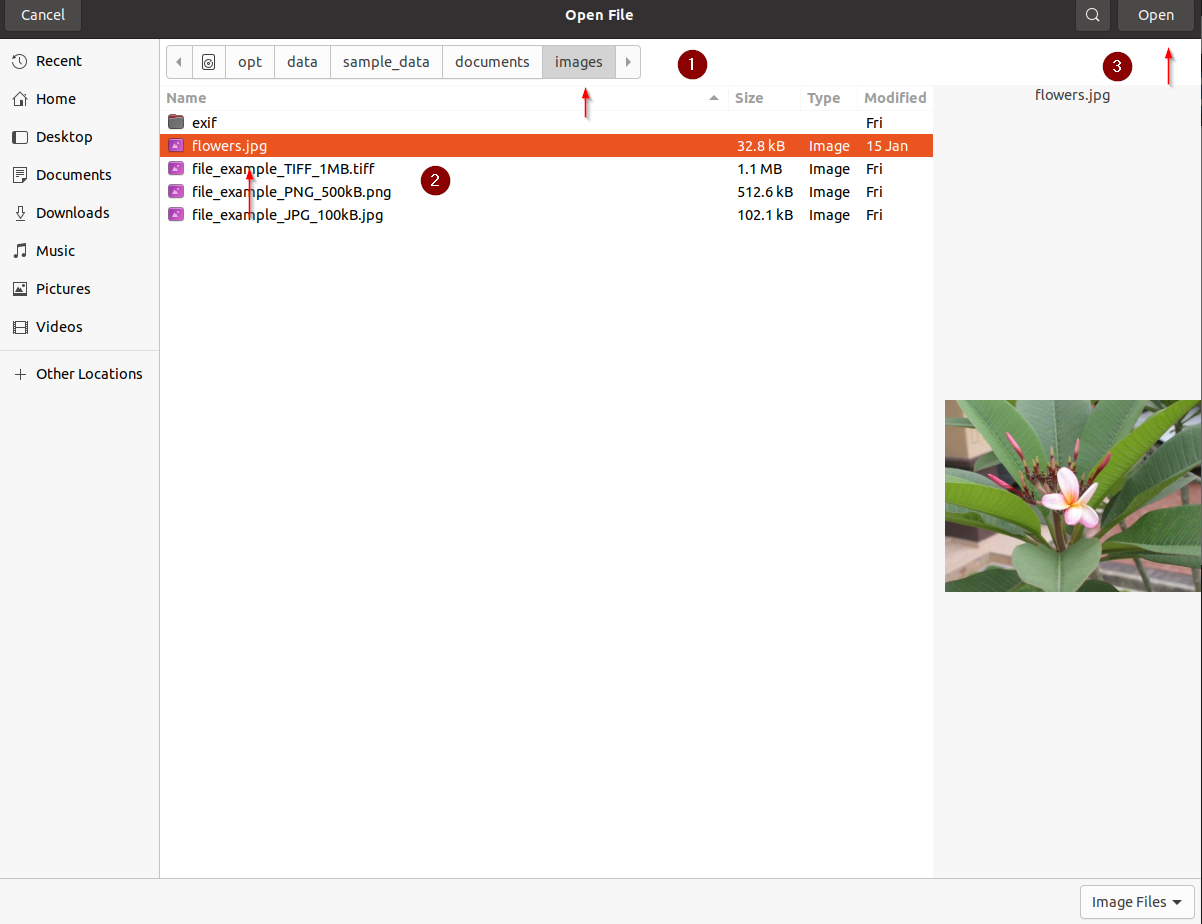
The file name will appear on the upload form. Click on the
Upload New Image button.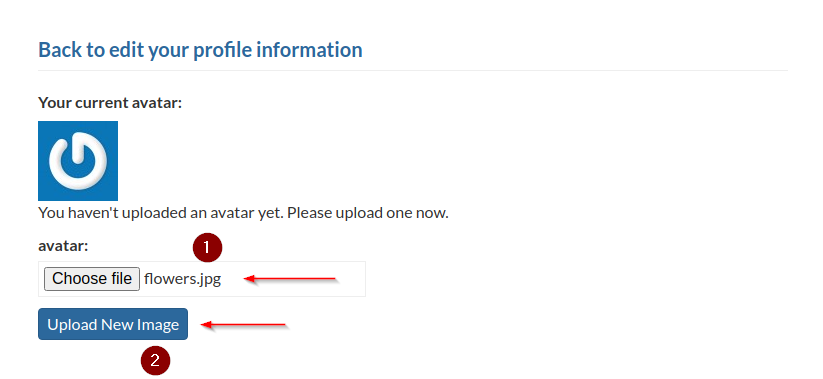
Your current avatar will be updated accordingly. Click on the
backbutton to return to the edit profile page.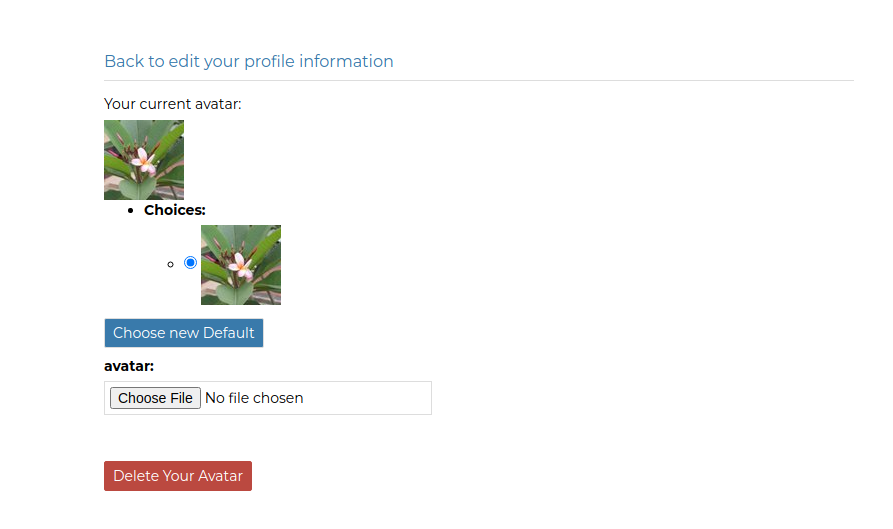
The updated avatar will be displayed both on the edit profile page and, as a small icon, beside the user name in the upper-right corner.
