Introduction to Administering GeoNode (Basics)
Sign in as
admin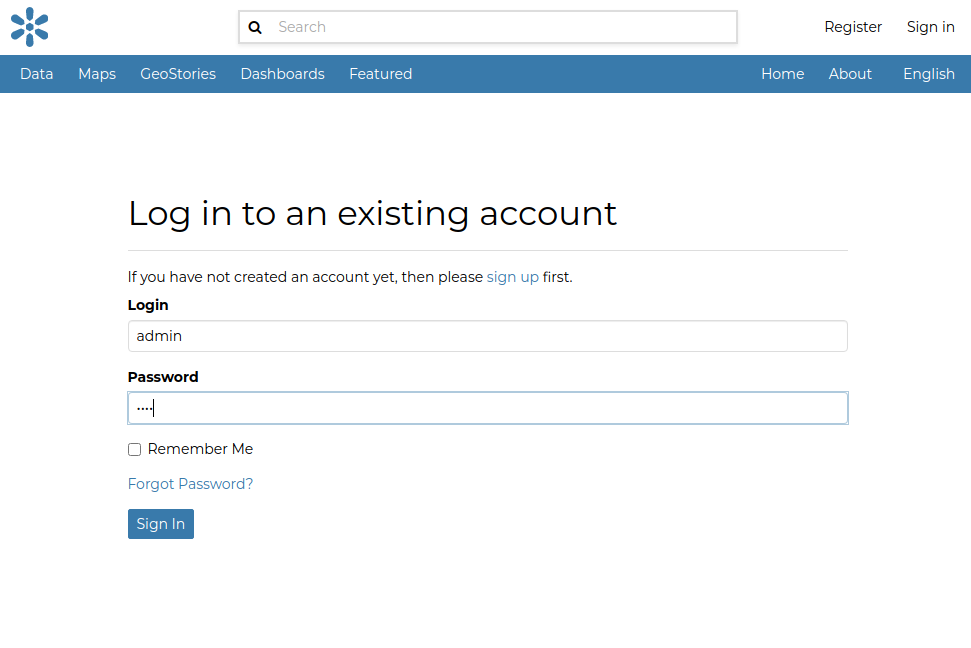
Note that as a
superuser, you will have more options available from the profile dropdown menu.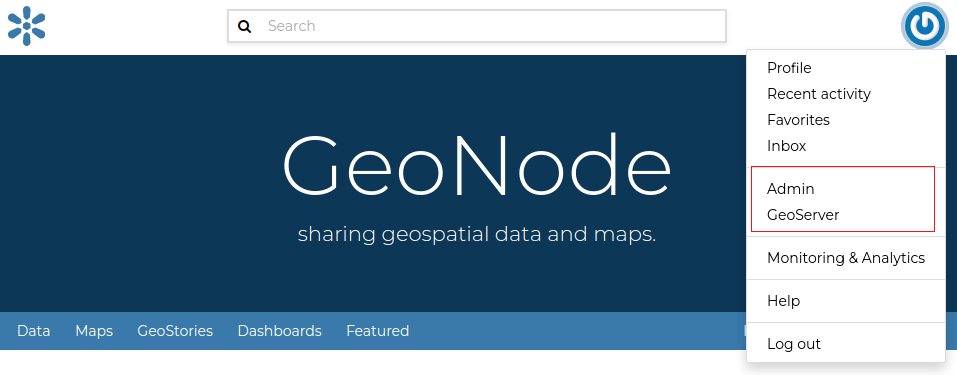
Click on
AdminTo get redirected to theDjango Administration Dashboard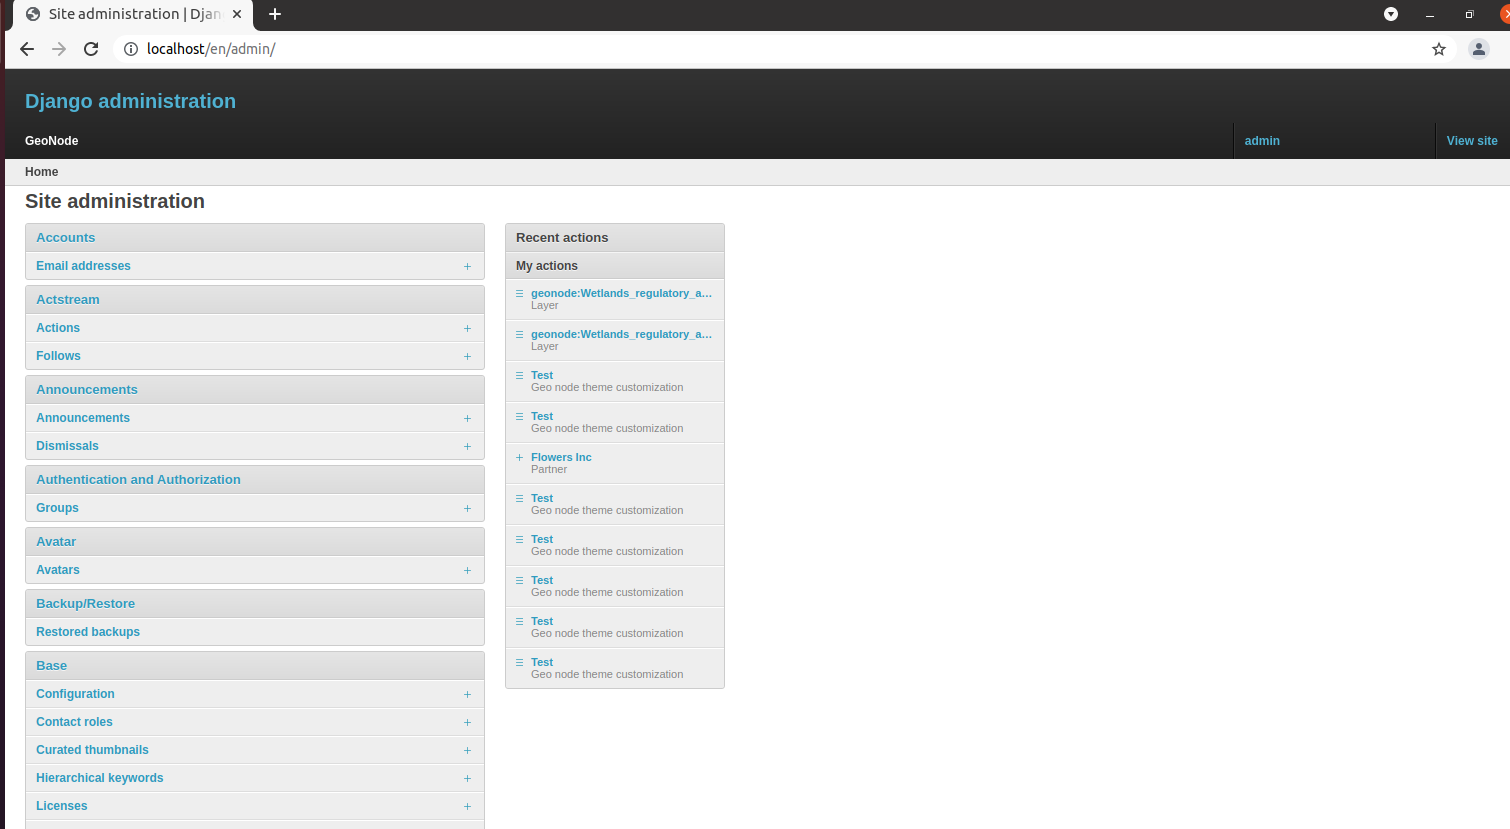
Django Administration Dashboard
The dashboard, at least on GeoNode, is a special section that is only accessible to superusers.
Through the dashboard, an admin can access special functions and can interact directly with the models stored in the DB.
This is particularly useful when we need to recover from an unusual situation (e.g. a layer could not successfully finish the configuration or an error occurred in the meanwhile).
Note that the dashboard is composed of several sections. In this introductory module, we will focus on the most common ones.
Announcements
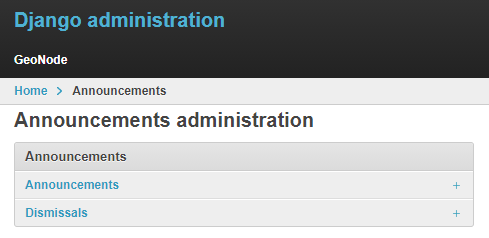
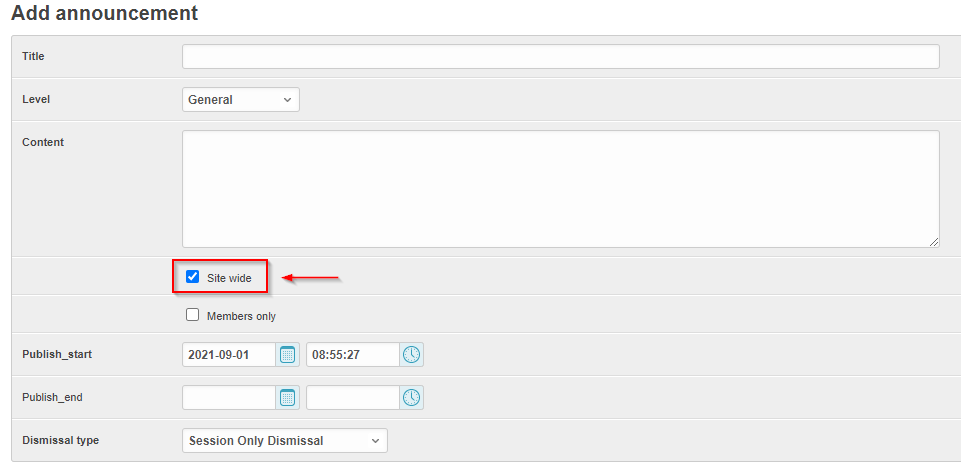
This section allows an admin to create, or change, public announcements on the portal.
There are several types of announcements. They can be public (which means anyone will see them) or Members Only (which means that only registered users will be able to see them).
Important: Remember, when creating a new announcement, make sure the Site Wide option is enabled
Base Administration
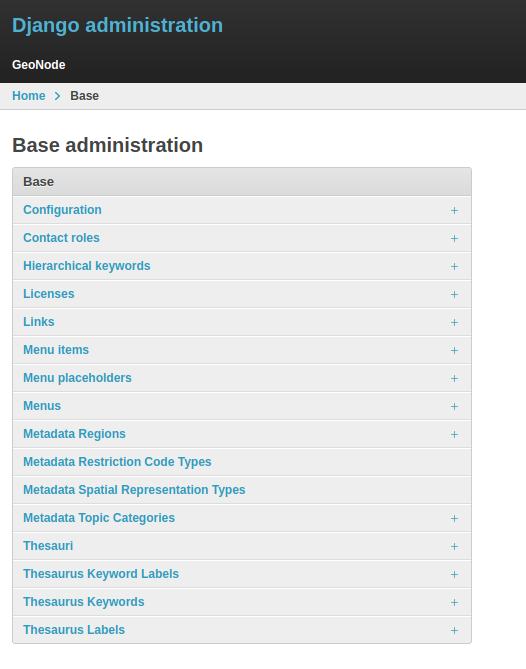
This section allows an admin to customize some of the default metadata content on GeoNode, such as:
Licenses
Subject Matter
Keywords
Metadata Regions
Not all sections can be changed. Warning: Only change that content if you know what you are doing!
People

This section enables an admin to manage the system’s users (i.e. the registered members).
Through this panel, it is possible to do the following:
Create/modify/delete users
Disable users or update/change their passwords
Promote a user to
superuser
Resources: Documents, Geoapps, Datasets, and Maps
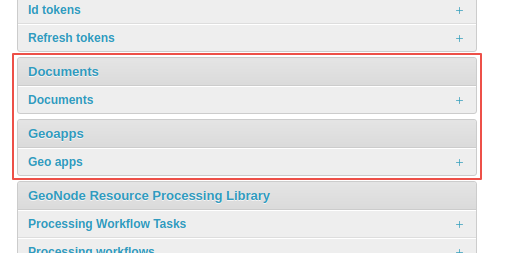
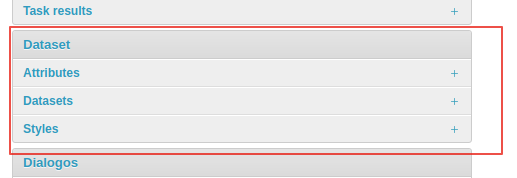
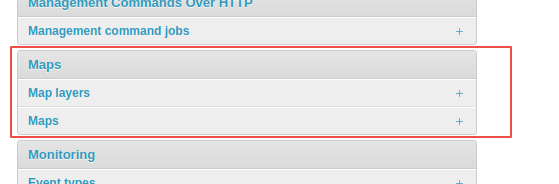
This section allows an admin to manage the GeoNode resources.
Through this panel, it is possible to:
Modify/delete resources
Publish/unpublish resources
GeoNode Themes Library

This section allows an admin to manage the GeoNode simple themes.
For more information, please check the GeoNode documents section Simple Theming.
Advanced Workflow
By default GeoNode is configured to make every resource suddenly available to everyone, i.e. publicly accessible even from anonymous/non-logged in users.
To enable advanced workflow in Geonode, You will have to configure the following settings to True
RESOURCE_PUBLISHING
ADMIN_MODERATE_UPLOADS
With the advanced workflow enabled, your resources won’t be automatically published (i.e. made visible and accessible for all, contributors or simple users).
For now, your item is only visible by yourself, the manager of the group to which the resource is linked (this information is filled in the metadata), the members of this group, the members of the group the owner belongs to, and the GeoNode Administrators.
Before being published, the resource will follow a two-stage review process, which is described below:
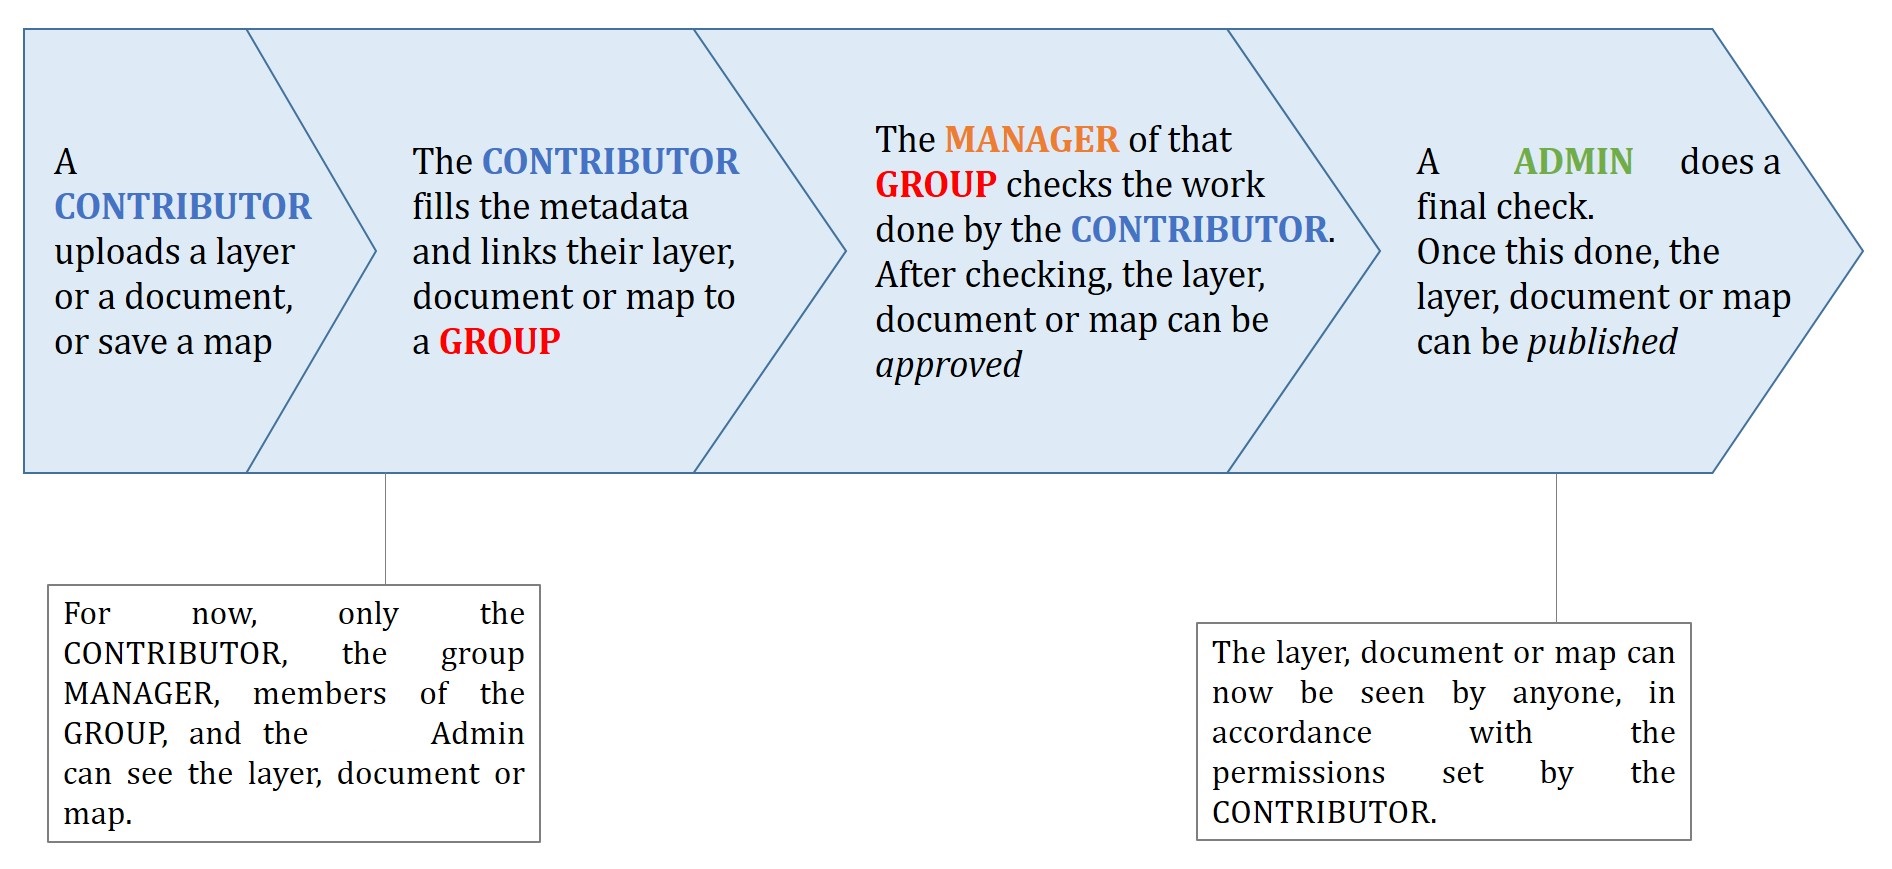
In summary, When advanced workflow is enabled, we expect the following:
The “unpublished” resources will be hidden to anonymous users only. The registered users will be still able to access the resources (if they have the rights to do that, of course).
The owner’s Groups are automatically allowed to access the resource, even if the “anonymous” flag has been disabled. Those permissions can be removed later on.
The managers of the owner’s Groups associated to the resource, are always allowed to edit, approve and publish the resource, the same as they are admin for that resource.
The Manager must check that the metadata are properly completed and that the mandatory information (Title, Abstract, Edition, Keywords, Category, Group, Region) are filled.
If needed, the Manager can contact the contributor responsible of the dataset, document or map in order to report potential comments or request clarifications.
Members of the group can also take part in the reviewing process and give some potential inputs to the responsible of the dataset, document or map.
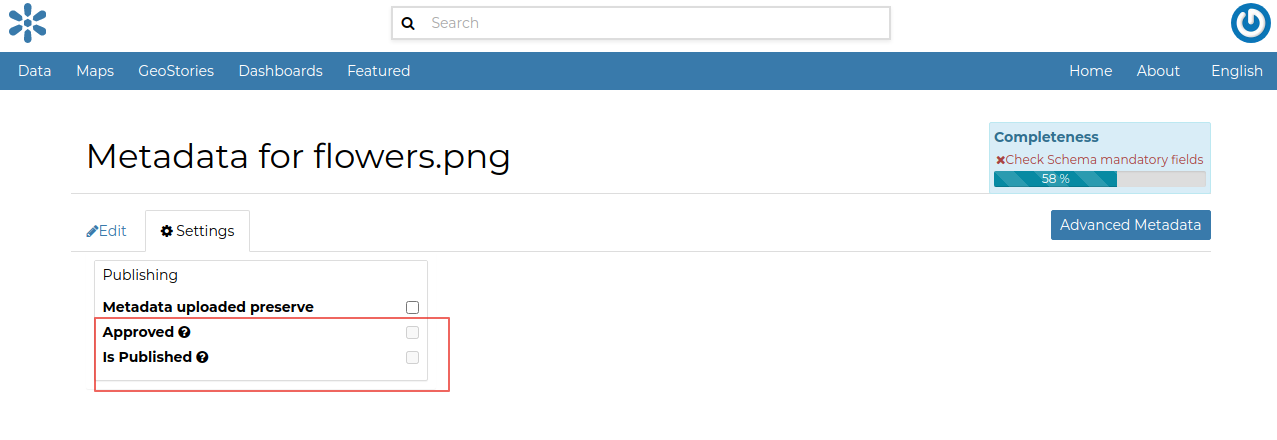
When the Manager considers that the resource is ready to be published, he should approve it. To do so, the Manager goes to the resource detail page, then opens the Edit Metadata. In the Settings tab, the manager checks the Approved box, and then updates the metadata and saves the changes:
After the resource is approved, owner is no longer able to modify it. He will see new button on the resource detail page:
Request change. After clicking this, view with short form is shown. On this view user can write short message why he want to modify the resource. This message will be sent through messaging and email system to administrators:If the administrator unapprove the resource, the owner is again able to modify it.
Following this approval, the GeoNode Administrators receive a notification informing them that an item is now waiting for publication
Prior to the public release of an approved resource, the Administrator of the platform performs a final validation of the item and its metadata, notably to check that it is in line with license policies.
If needed, the GeoNode Administrator can contact the Manager who has approved the resource, as well as its responsible.
Once the resource is validated, the item is made public by the Administrator. It can now be viewed, accessed, and downloaded in accordance with the Permissions set by the responsible contributor.
Let’s create a resource eg, a document when Advanced workflow is enabled.
Update environment variables below and restart server.
RESOURCE_PUBLISHING=True
ADMIN_MODERATE_UPLOADS=True
Using the Admin panel, create the following test users and groups
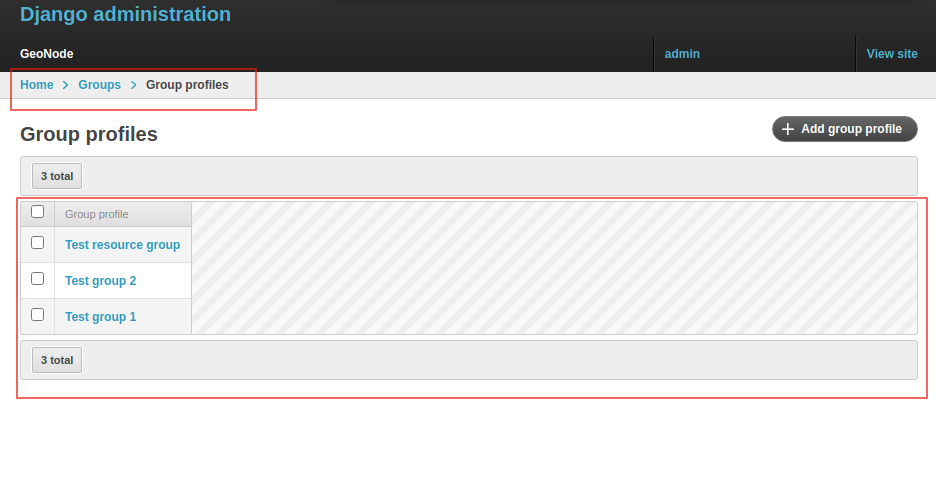
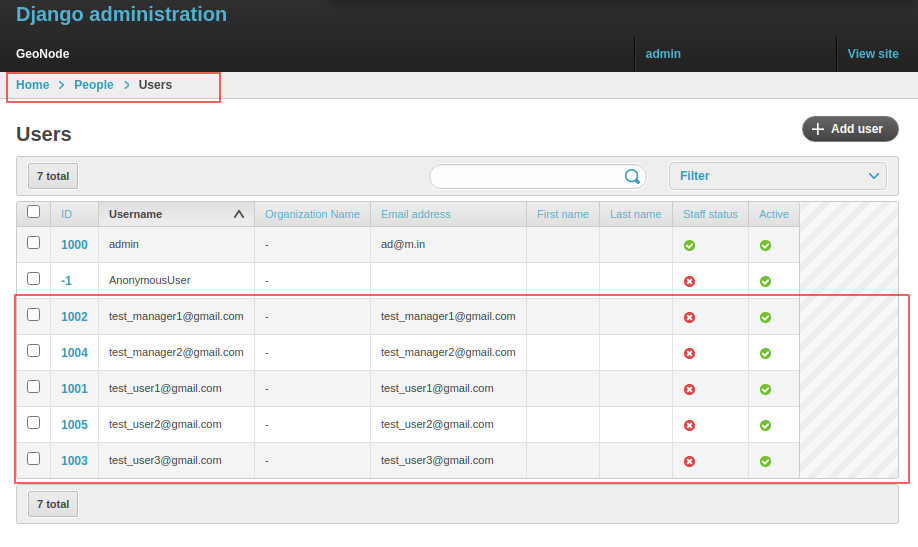
Add users to groups with their respective roles as below:
Test group 1:
- test_user1@gmail.com - Member
- test_user2@gmail.com - Member
- test_manager1@gmail.com - Manager

Test group 2:
- test_user3@gmail.com - Member

Test resource group:
- test_manager2@gmail.com - Manager
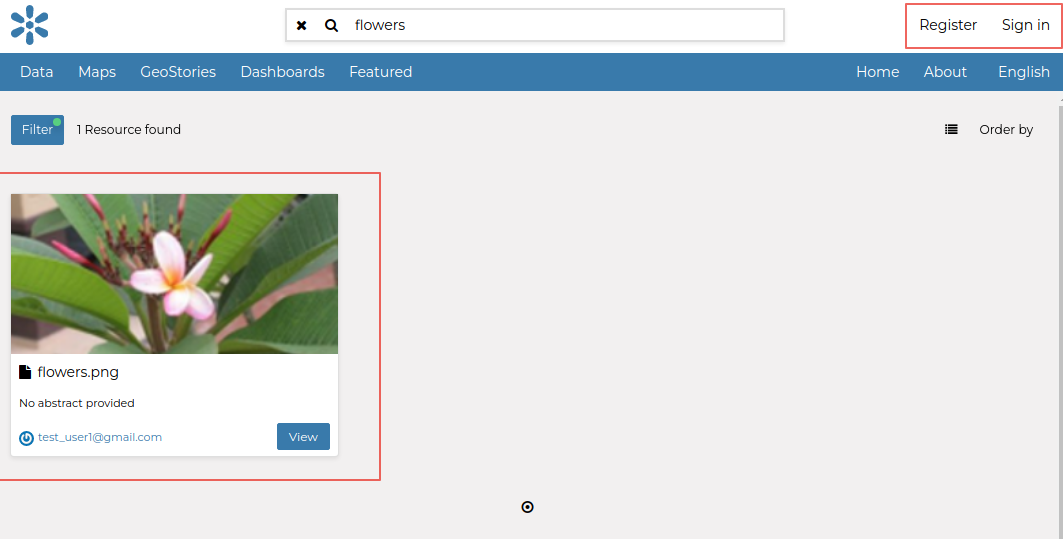
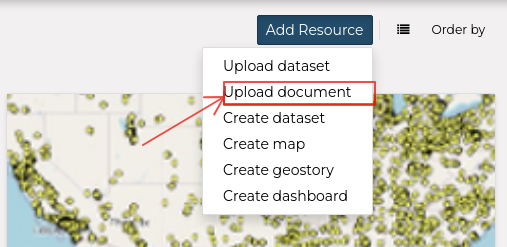
Login as test_user1@gmail.com and from the Add Resource dropdown menu, select Upload document.
You will be redirected to a page allowing you to add a new document to GeoNode. On the Upload Document page, click on Select files; that will open your system file browser. Go to /opt/data/sample_data/documents location, Select the file images/flowers.png and click Open; GeoNode will automatically set the document title equal to the file name.
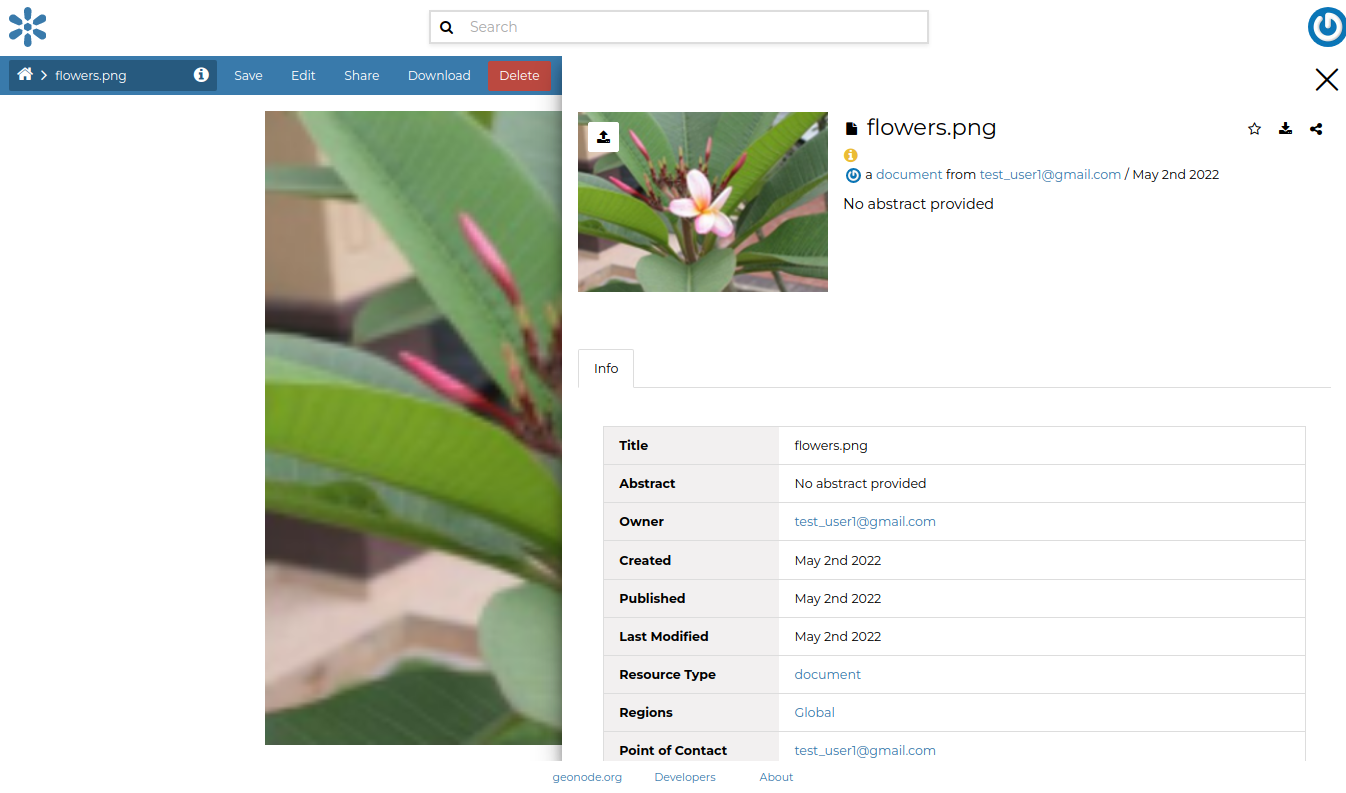
Click on Upload and wait for GeoNode to finalize the procedure. After the upload, you can click in view button and you will be redirected to the document details page.
Click on Edit > Edit Metadata and assign group Test resource group to the resource. Notice that the approve and publish options are False and disabled for the owner.
Logout from the system and search for the document as annonymous user. The document will not be visible.
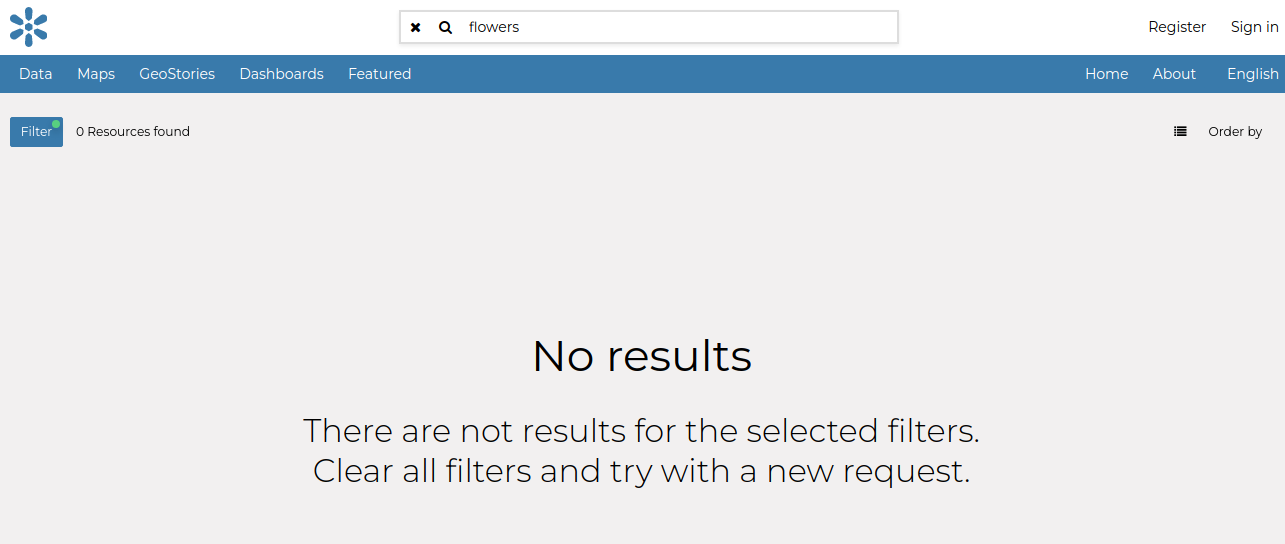
Login as test_user2@gmail.com (a member in the owner’s group) and search for the document. The document will be visible but the user will not have the edit option.

Login as test_manager1@gmail.com or test_manager2@gmail.com. Click on Edit > Edit Metadata. Under the setings tab, approve the resource and update.
Now login as test_user1@gmail.com (owner) Notice that the edit option is nolonger available.
As an admin, Click on About > Groups. Select Test resource group then click on Manage Group Members. Demote user test_manager2@gmail.com.
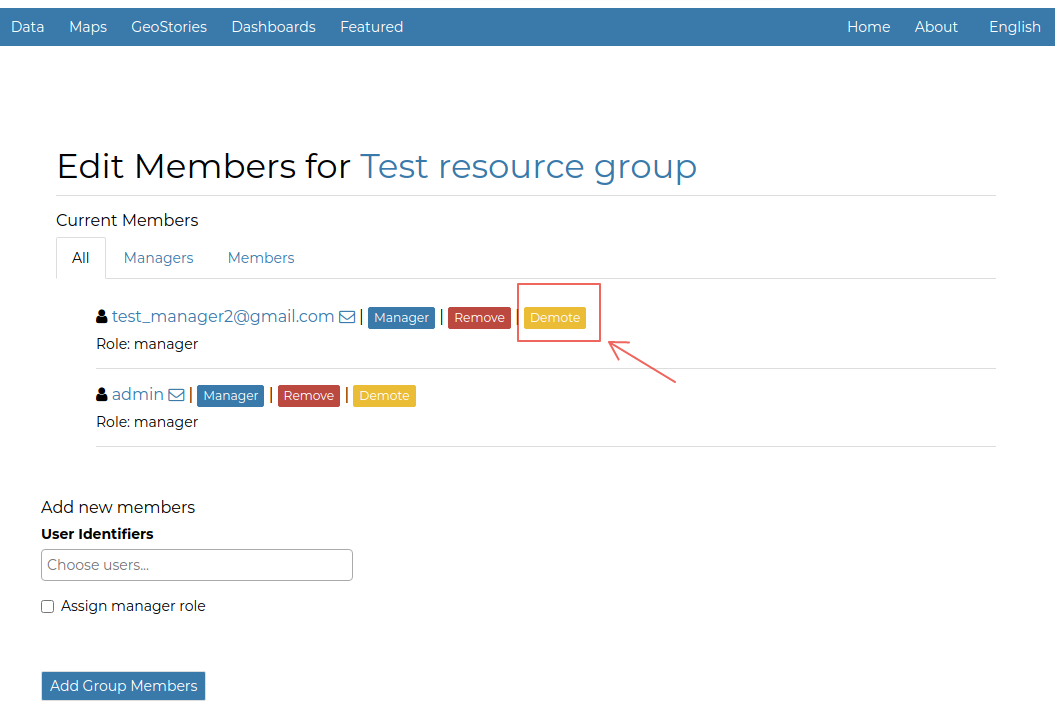
Notice that user test_manager2@gmail.com can see the resource but unable to edit or approve it.
Login as an Admin and publish the resource.
Notice the resource is now visible to Annonymous users.