Quick installation guide
The purpose of this section is to provide you with basic information about the structure and contents of the training Virtual Machine.
In order to simplify the installation procedure, a self-contained VM OVA (comprising of the various executables used throughout the training) is provided for download or to be viewed online at this link:
This folder always contains the latest version of the VM.
The package is an Oracle VirtualBox OVA image which must be loaded into a running Virtual Box instance.
WARNING: The package is about ~6.0 GB big. Therefore, consider downloading it and setting up VirtualBox, as explained below, before the training sessions start.
Installing Oracle VirtualBox

Minimum Hardware Requirements
At least
8GBof RAMAt least
4 CPUsAt least
50GBof free space on theHDA stable and fast
Internet connection
How to install the Virtual Machine
Install Oracle VirtualBox Software
WARNING: In order to make the VMs working properly, you will need at least the VM Box version 6.1.34.
Download the executable accordingly to your current operative system
Official Distributions: https://www.oracle.com/it/virtualization/technologies/vm/downloads/virtualbox-downloads.html
Windows: VirtualBox-7.0.4-154605-Win.exe
Linux all distributions: VirtualBox-Linux_Downloads
MAC OSX: VirtualBox-7.0.6-155176-OSX.dmg
Solaris 10 5/08 and later or Solaris 11: VirtualBox-7.0.6-155176-SunOS.tar.gz
Deploy the GeoNode VM OVA
Run the Oracle VirtualBox and select
Import Appliancefrom theFilemenu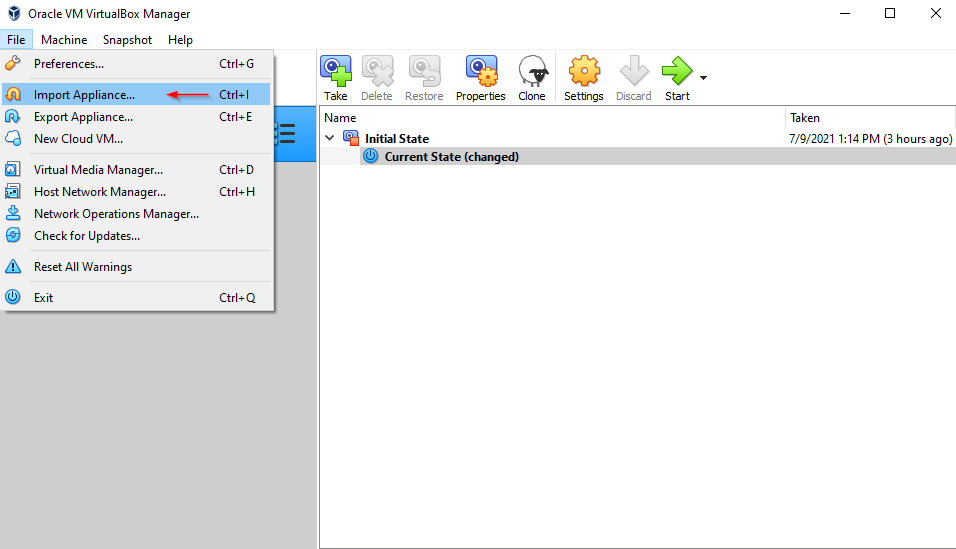
Select the .ova file downloaded from the GeoSolutions-GeoNode-Training-VM-4.2.3-Initialized
Leave all the
defaultsoptions, except for the destination folder; you will need to select a location with at least30GBof memory freeClick the
Importbutton and wait for the progress bar to be finished; it will require up to20 minutesdepending on your systemIf everything goes well, you should be able to set the new
Applianceavailable from the Oracle VirtualBox panel
Start and test the GeoNode Virtual Machine
Select the GeoNode 4.x image and click on the
StartbuttonWait for the system to startup, you should be able to see the
Ubuntudesktop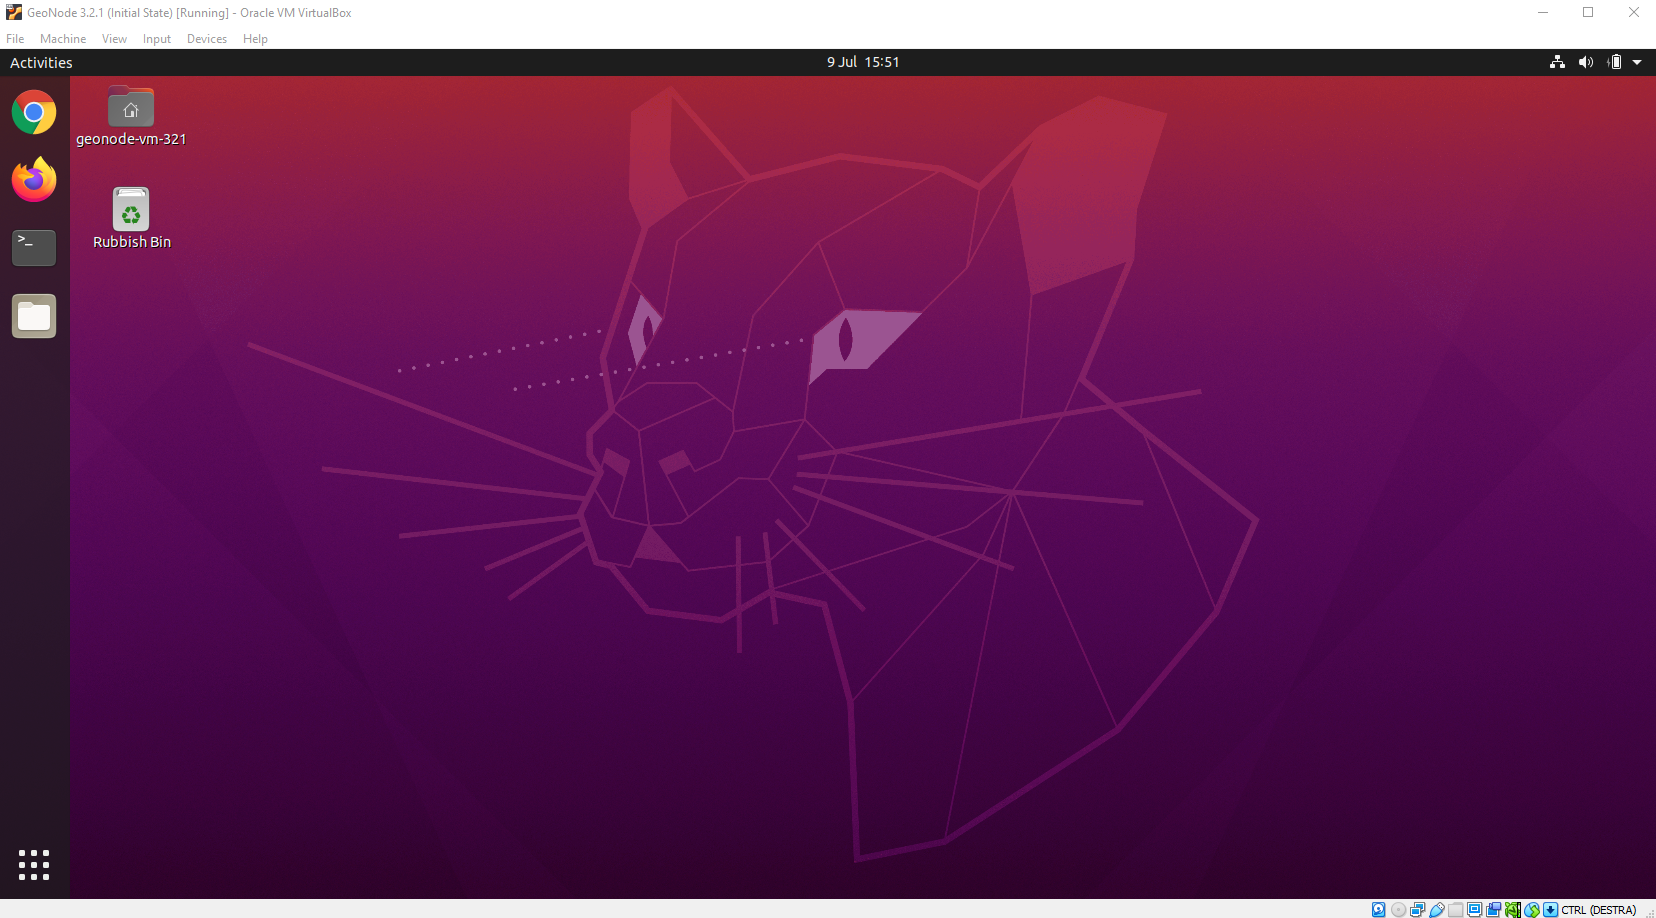
Open a
Terminalwindow by clicking the link shown in the picture below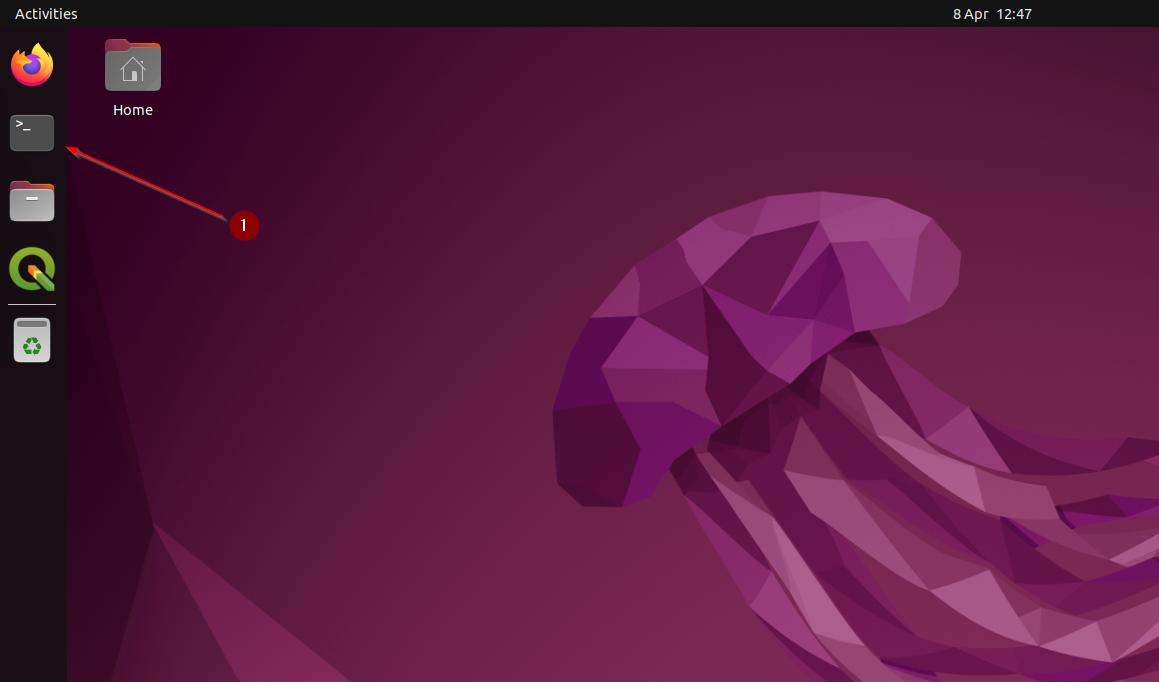
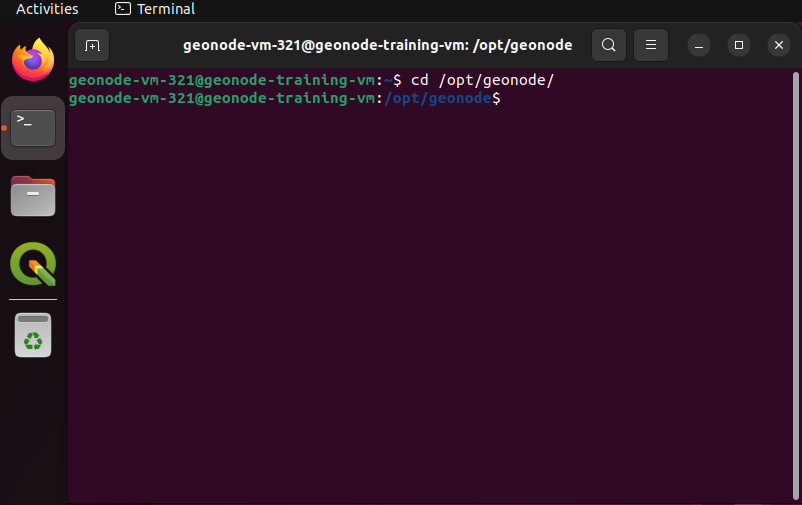
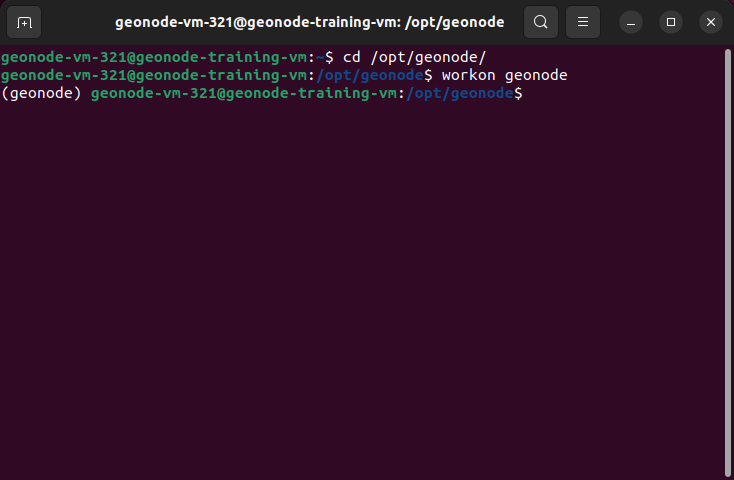
Enter the lines
cd /opt/geonode/and clickentercd /opt/geonode/
Enter the lines
workon geonodeand clickenterworkon geonode
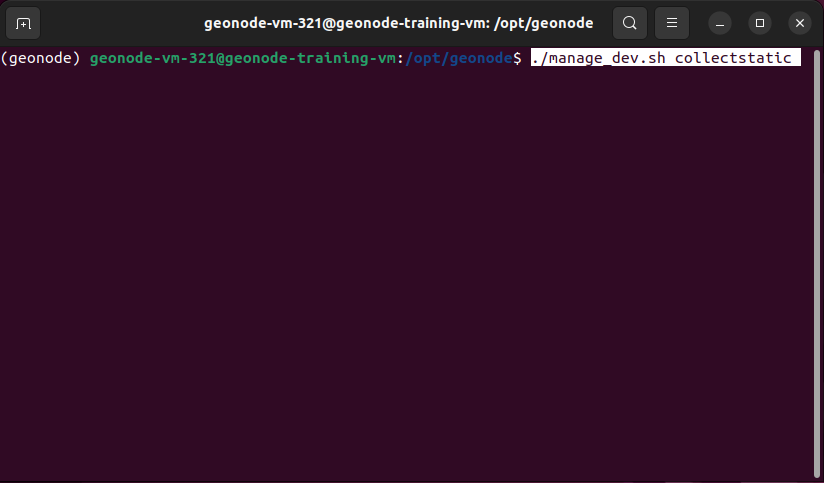
Enter the lines
./manage_dev.sh collectstaticand clickenter./manage_dev.sh collectstatic
Enter
yeswhenprompted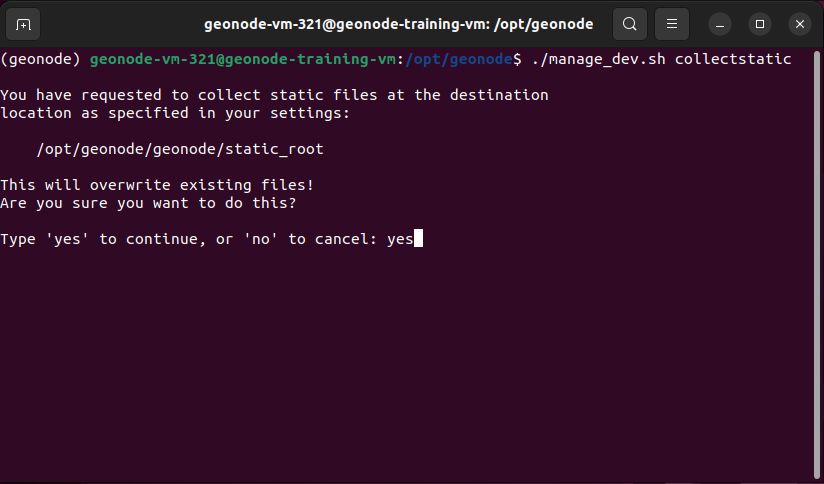
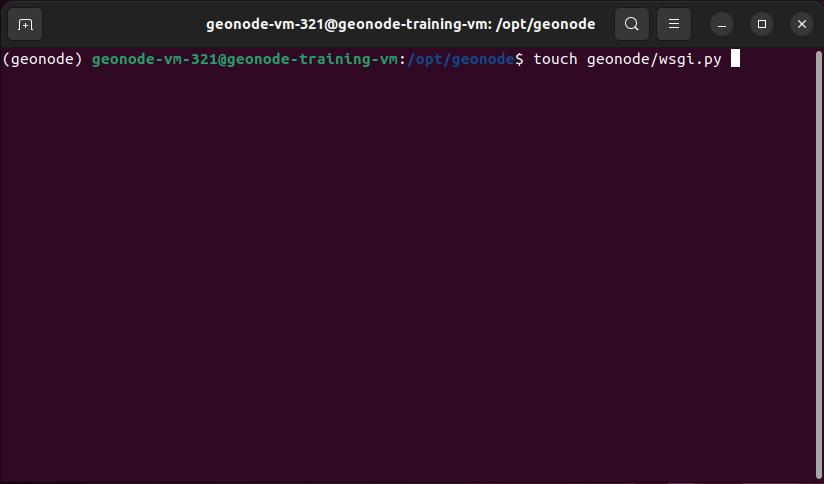
Enter the lines
touch geonode/wsgi.pyand clickentertouch geonode/wsgi.py
Open the
ChromeWEB browser, enter the passwordgeonodeif it asks for one, and go to the location:http://localhost/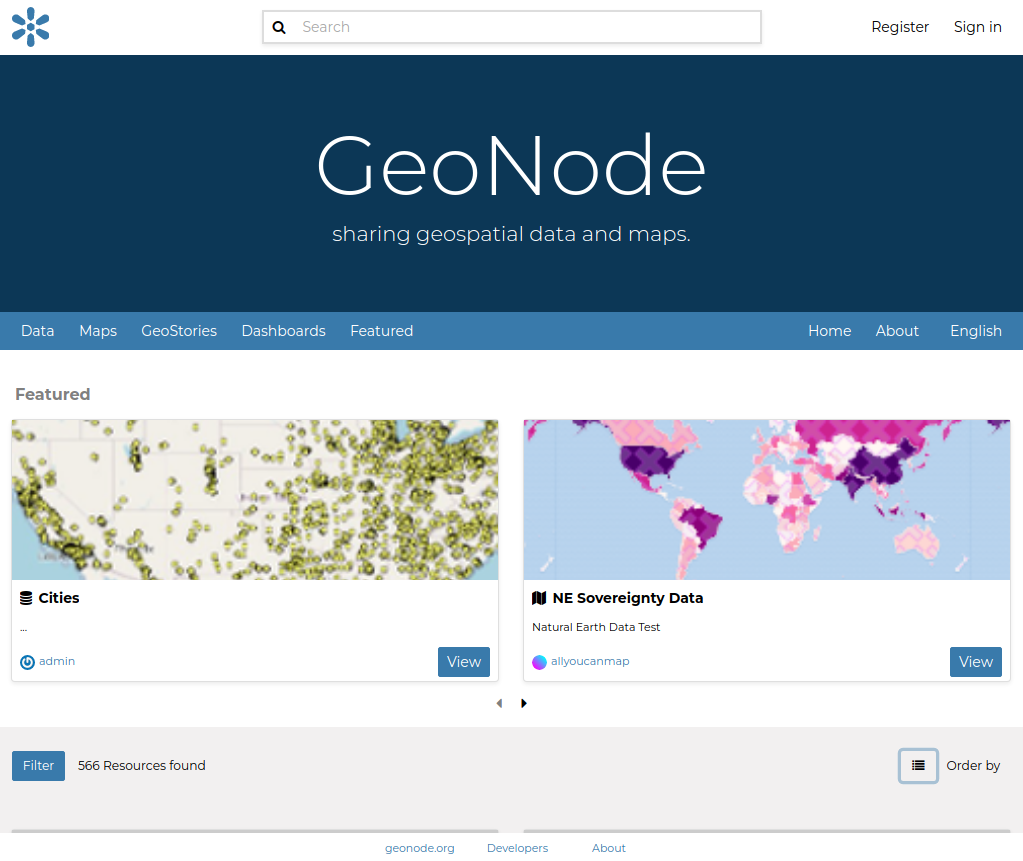
The GeoNode Default Home Page
When accessing GeoNode you will automatically be redirected to the default home page; other than the GeoNode logo, you can see different sections from this landing page

The navigation bar presents a set of quick-access menu links
The registration link allows you to create a new GeoNode registered member profile
The sign-in link allows you to log in using an existing GeoNode member profile
The big search box allows you to perform quick searches on the GeoNode contents
Main site title is presented to the user; this section can be customized eventually